Integrating Zapier with Hellonext lets you get all your customer updates in 3000+ tools of your choice. If you would like to integrate Hellonext with multiple tools at the same time, yes, you can! And with absolutely no coding!
How does a Zap work?
With Zapier you can set up a zap between Hellonext and various other applications. A zap is basically an automated task that you want run over and over again between two apps.
A zap consists of a trigger and an action: If this happens (trigger), then do this (Action). Once you have created your zap, Zapier will trigger as soon as your perform the specified action in the source application.
What sort of Hellonext triggers can be set?
Our Zapier integration allows to listen to various events in your Hellonext organization like below:
New posts in public or private boards
New public or internal comments
New votes (upvote or downvote)
Post Approvals
Update to a post’s status (In review, progress, completed) in public or private boards
All these actions raised in your Hellonext organization can have an action set on the app of choice. It ultimately saves time and helps focus more on work!
How to set up a Zapier account?
Get your Zapier account. From there, you can jump directly. To help you with easy automation we've made some pre-made Zap templates. Find here.
-
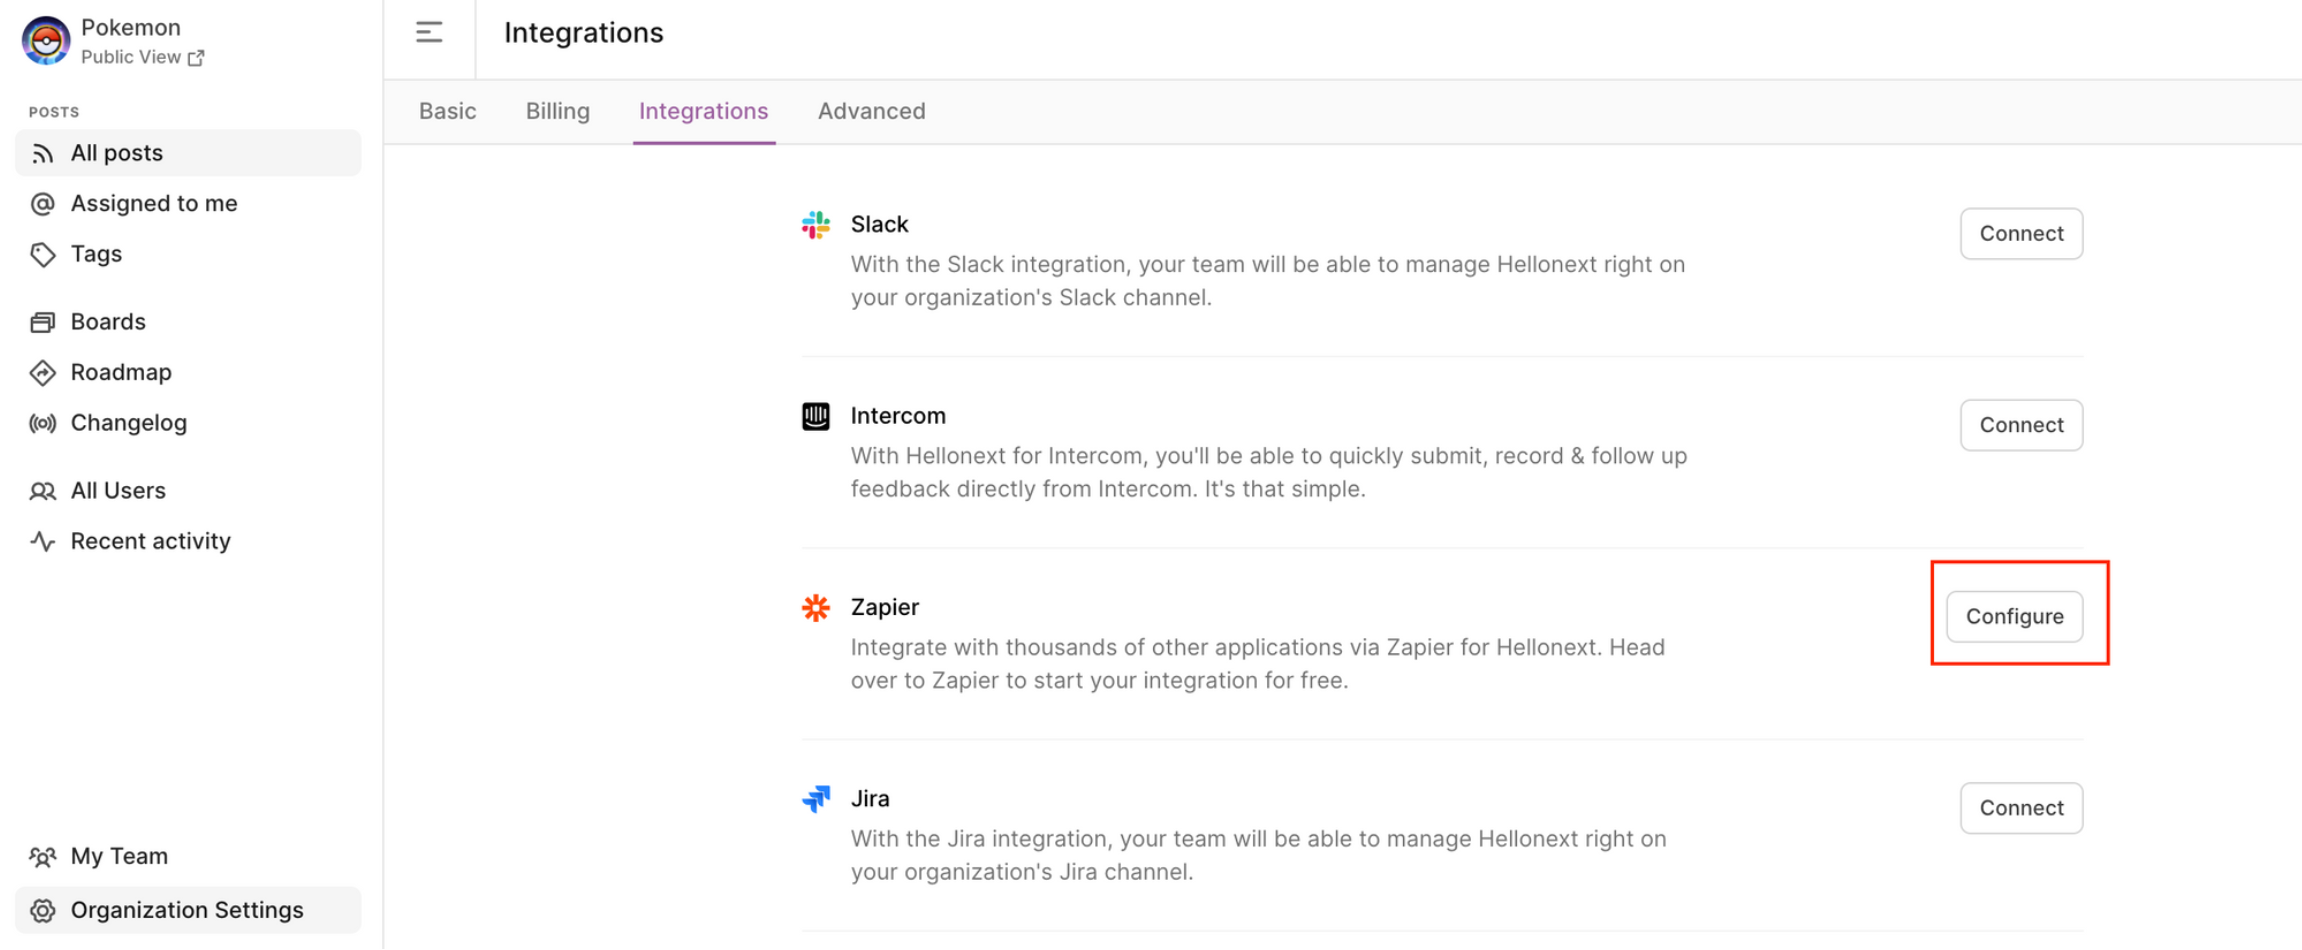
Go to your Hellonext Organization Settings -> Integrations -> Zapier -> Click on Configure.
-
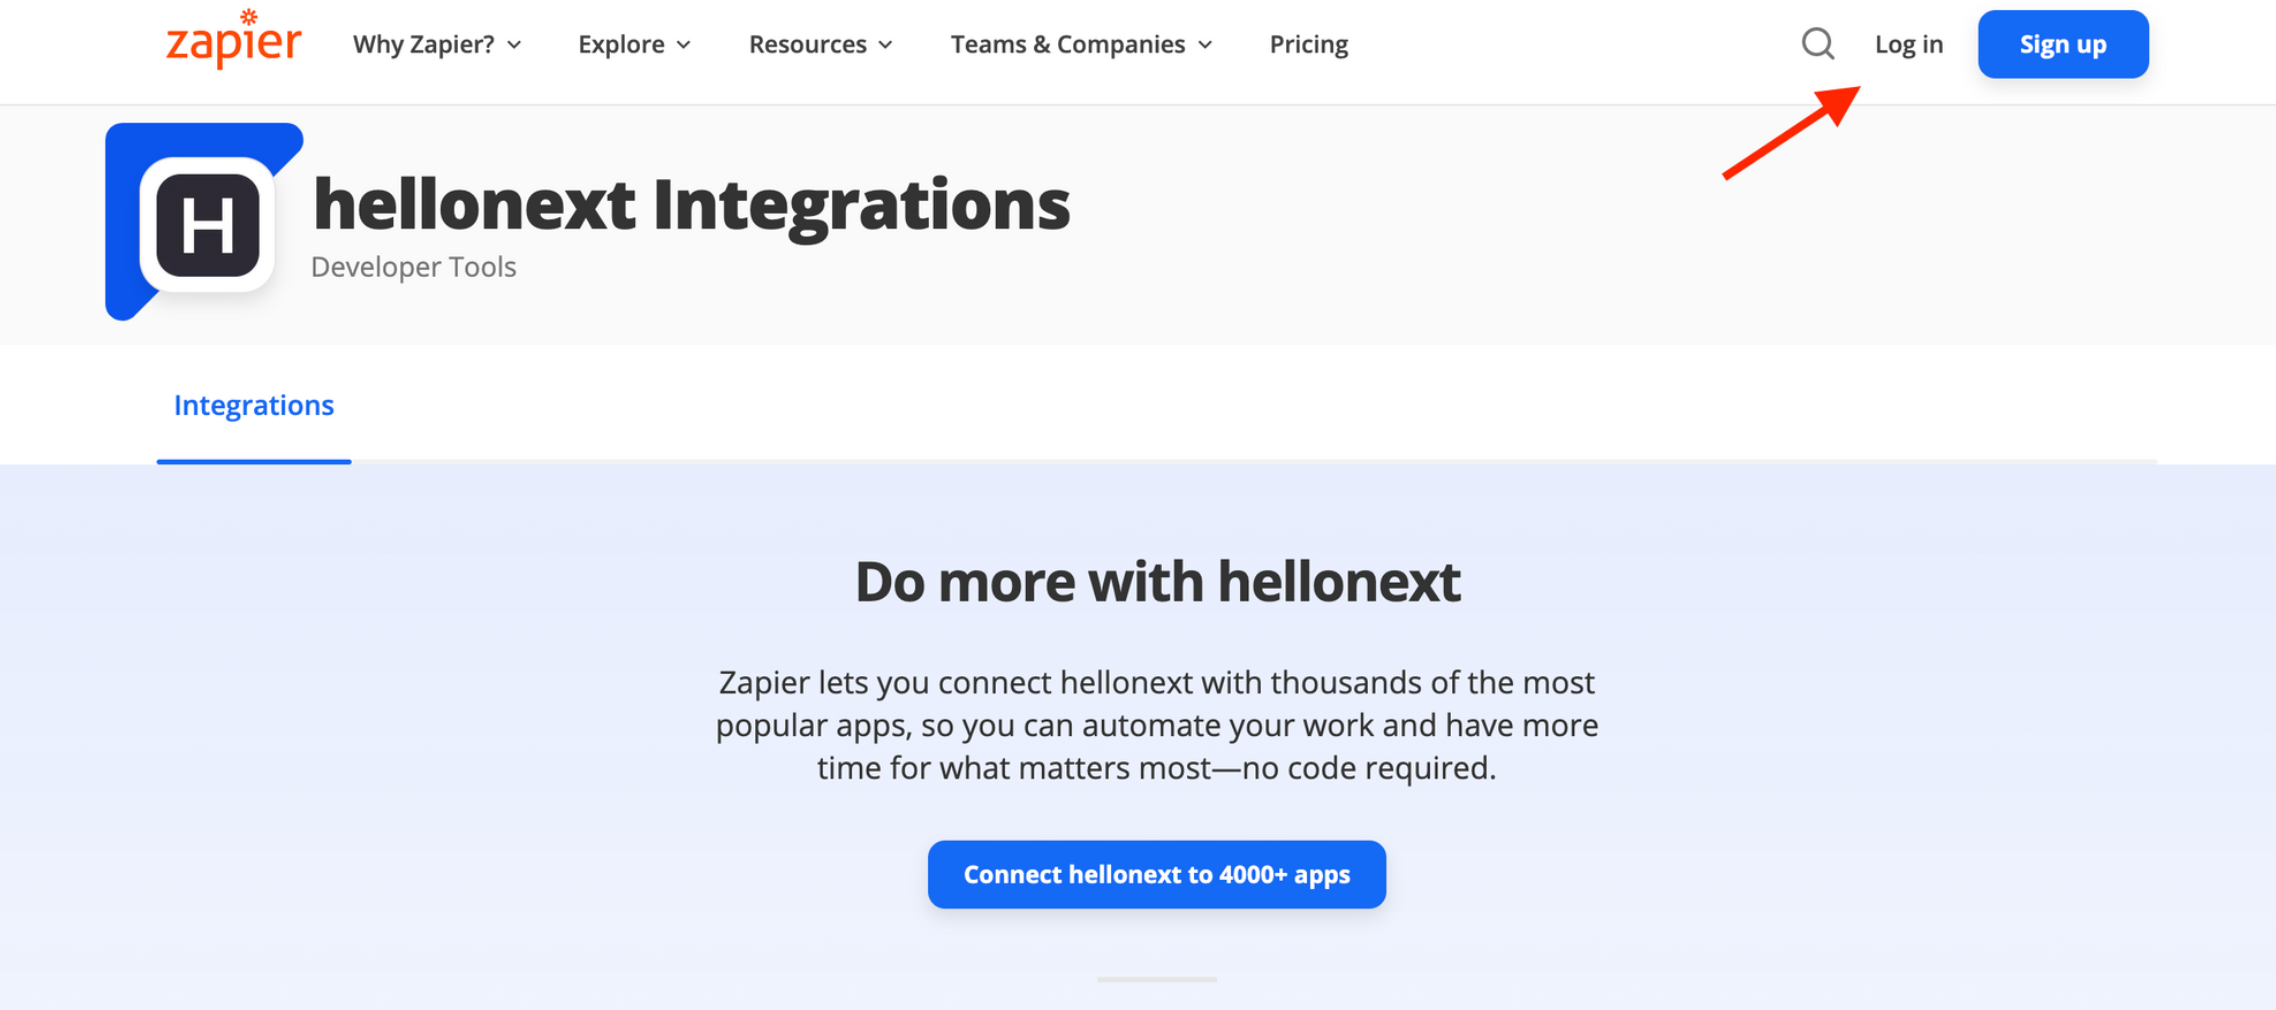
You will be redirected to Zapier’s page. Sign into your Zapier Account by clicking on Log in on the top right corner of the page.
Creating a Zap:
-
Once signed in, click on Create Zap on the top left corner.

-
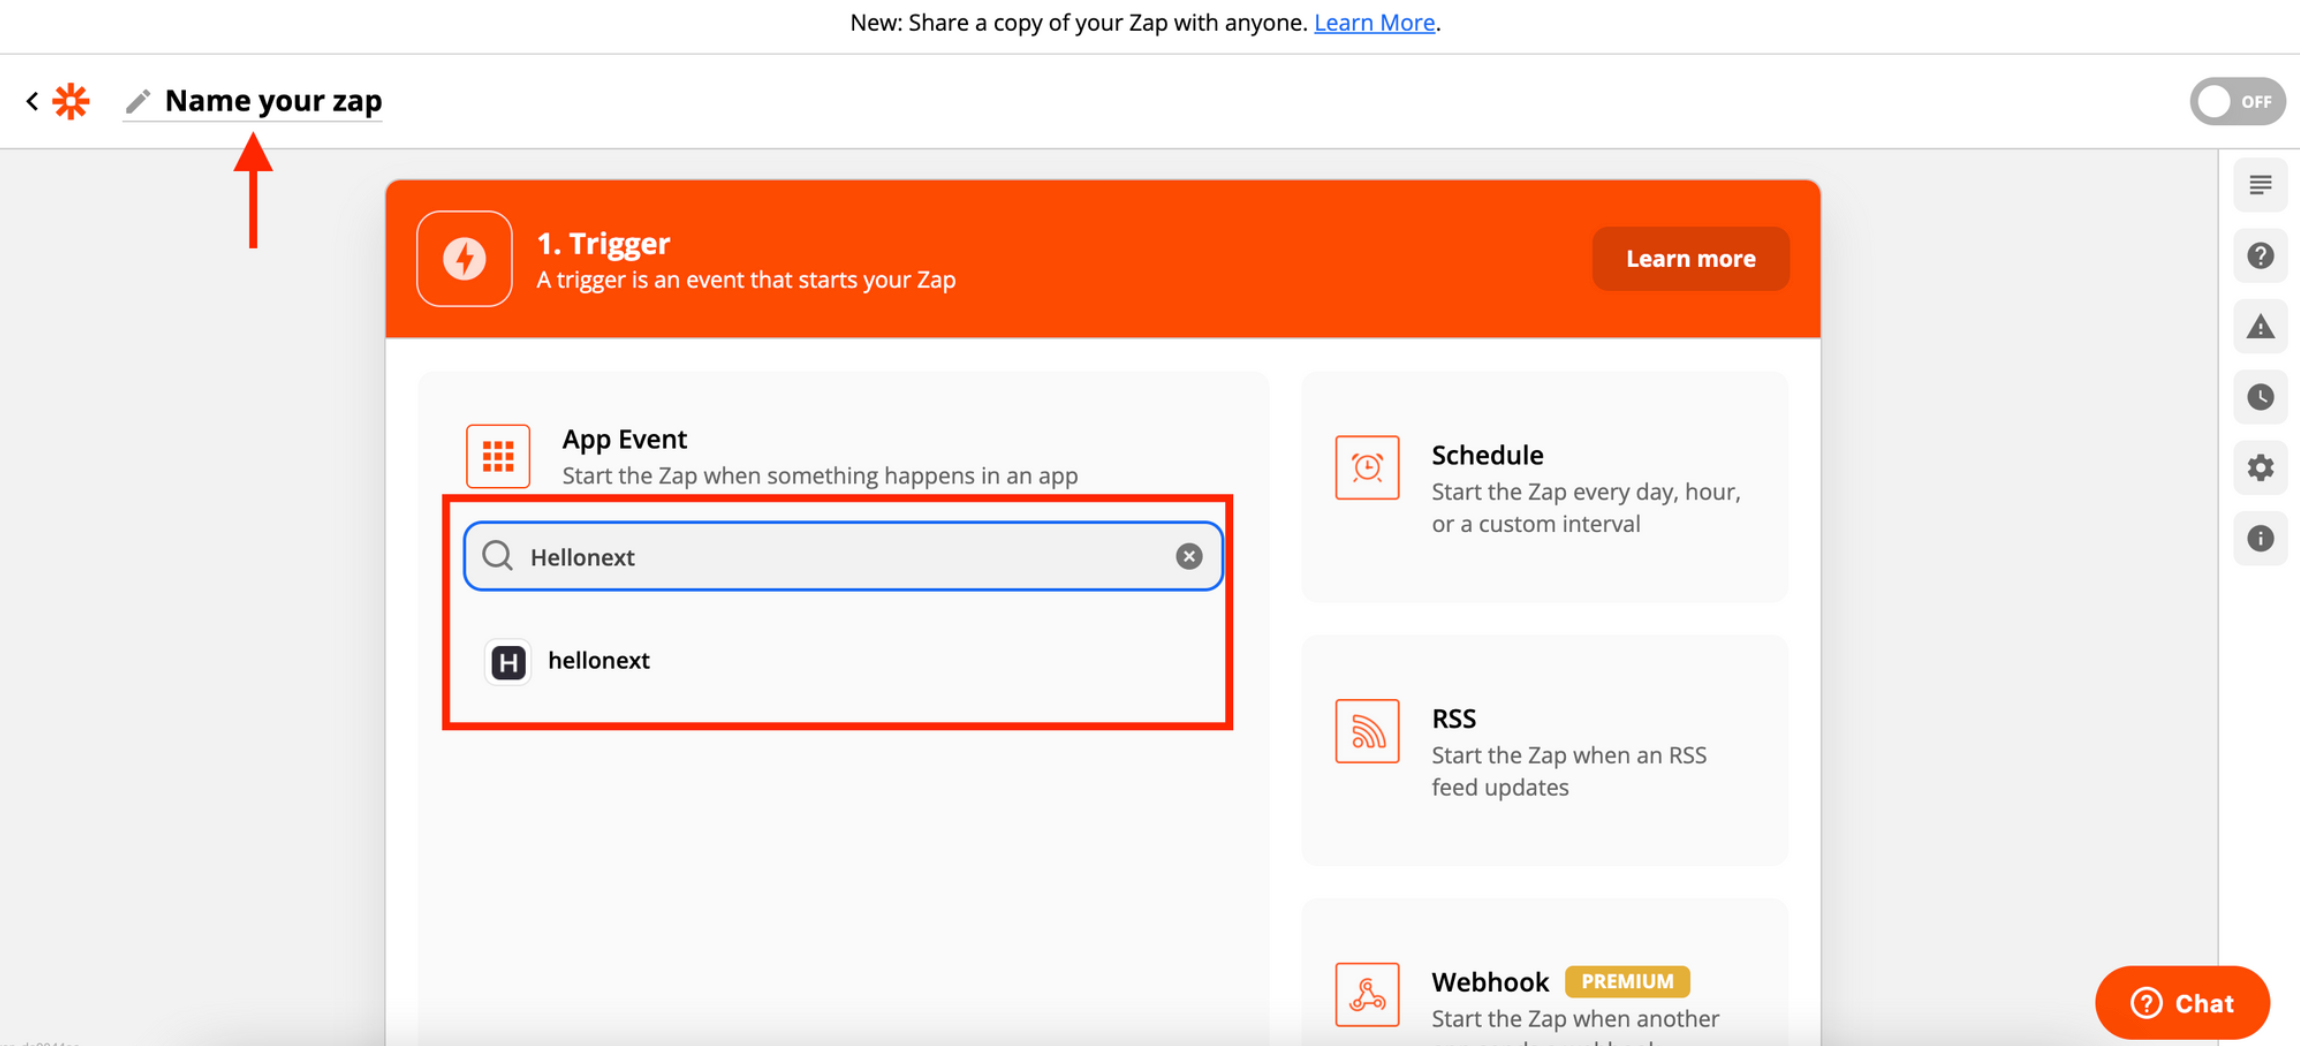
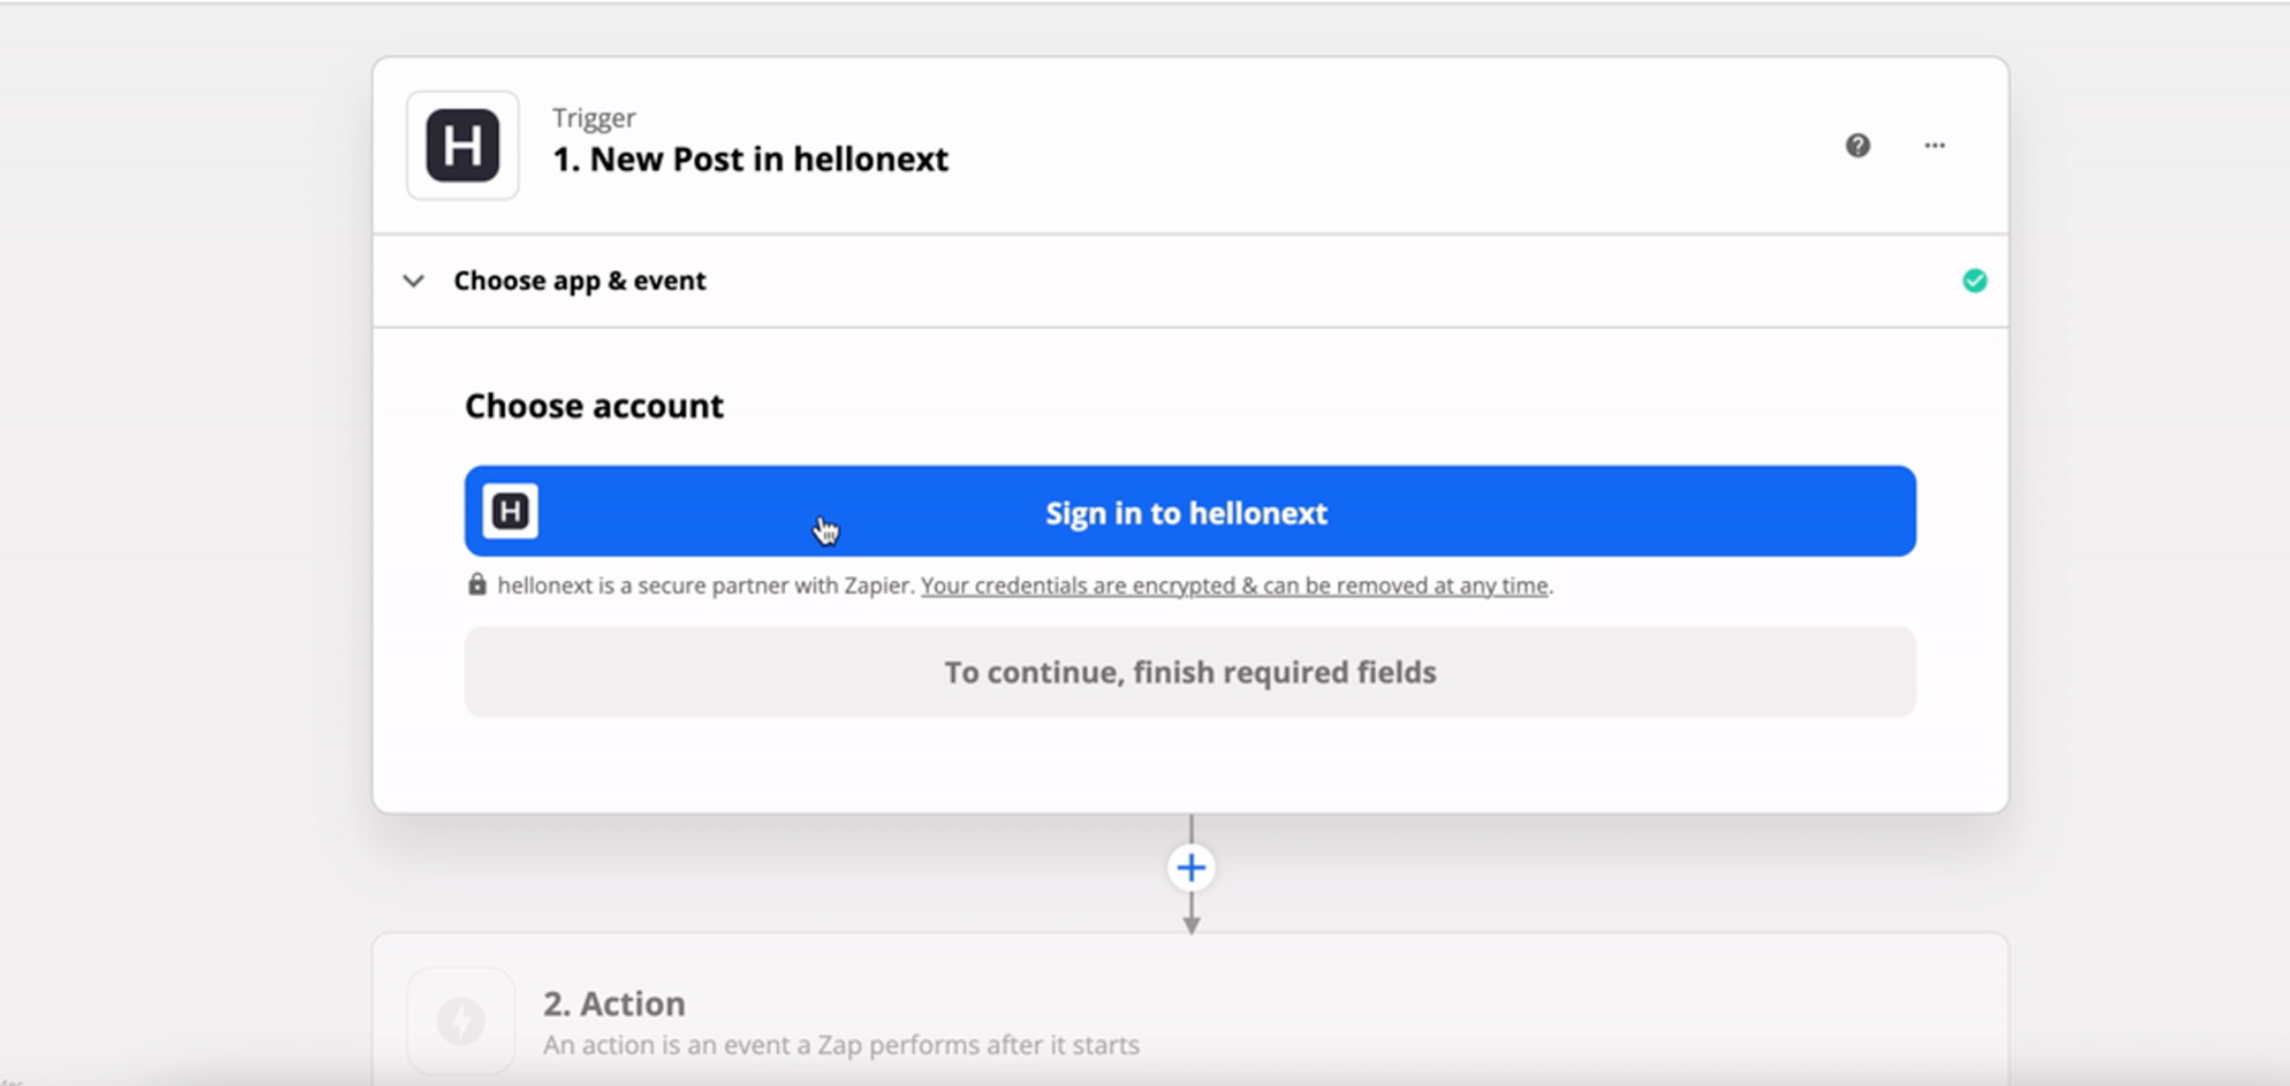
Name your Zap and choose the trigger app as Hellonext.
-
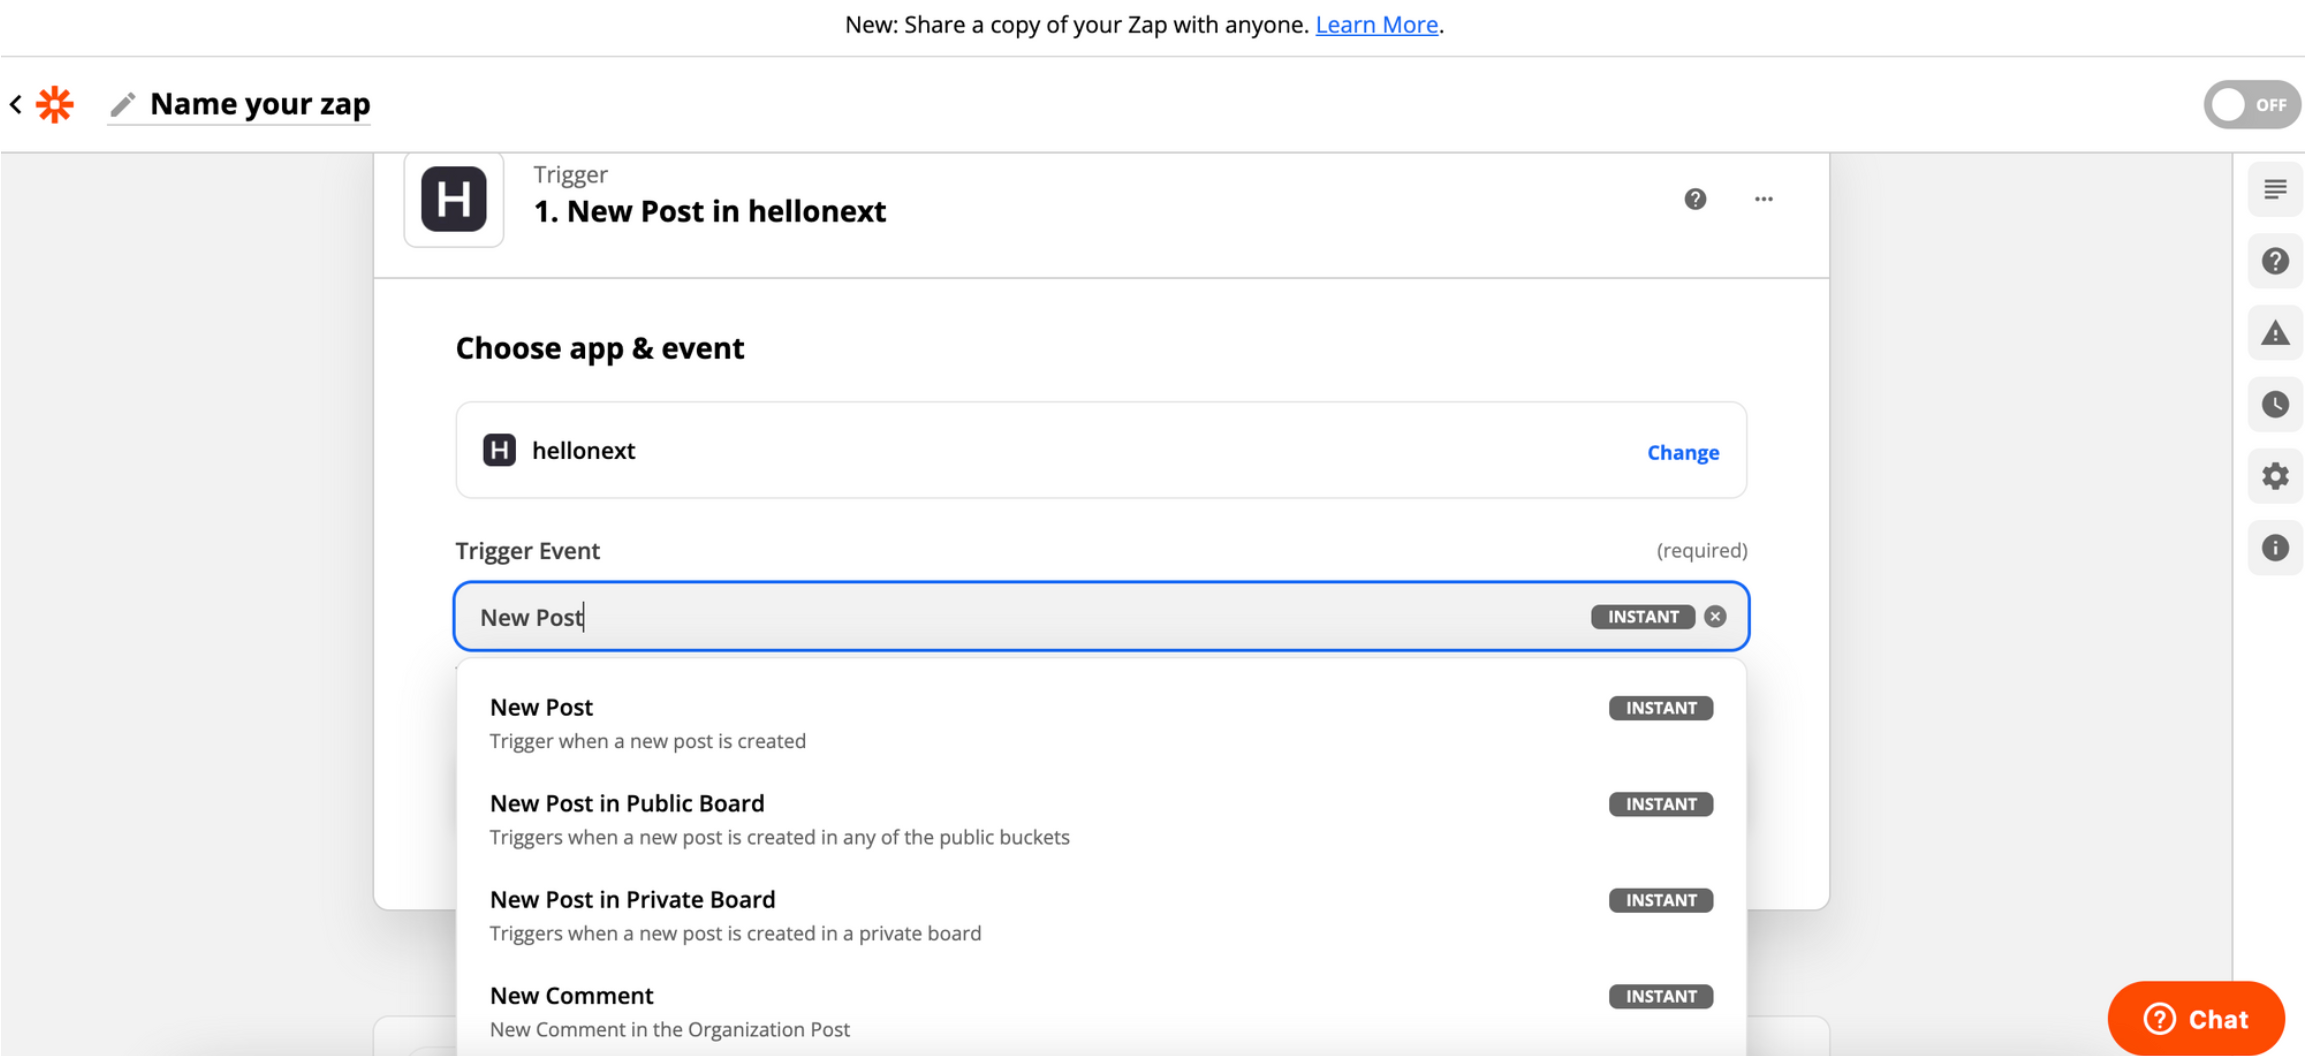
Choose the event and click on connect a new account to connect with your Hellonext organization.
-
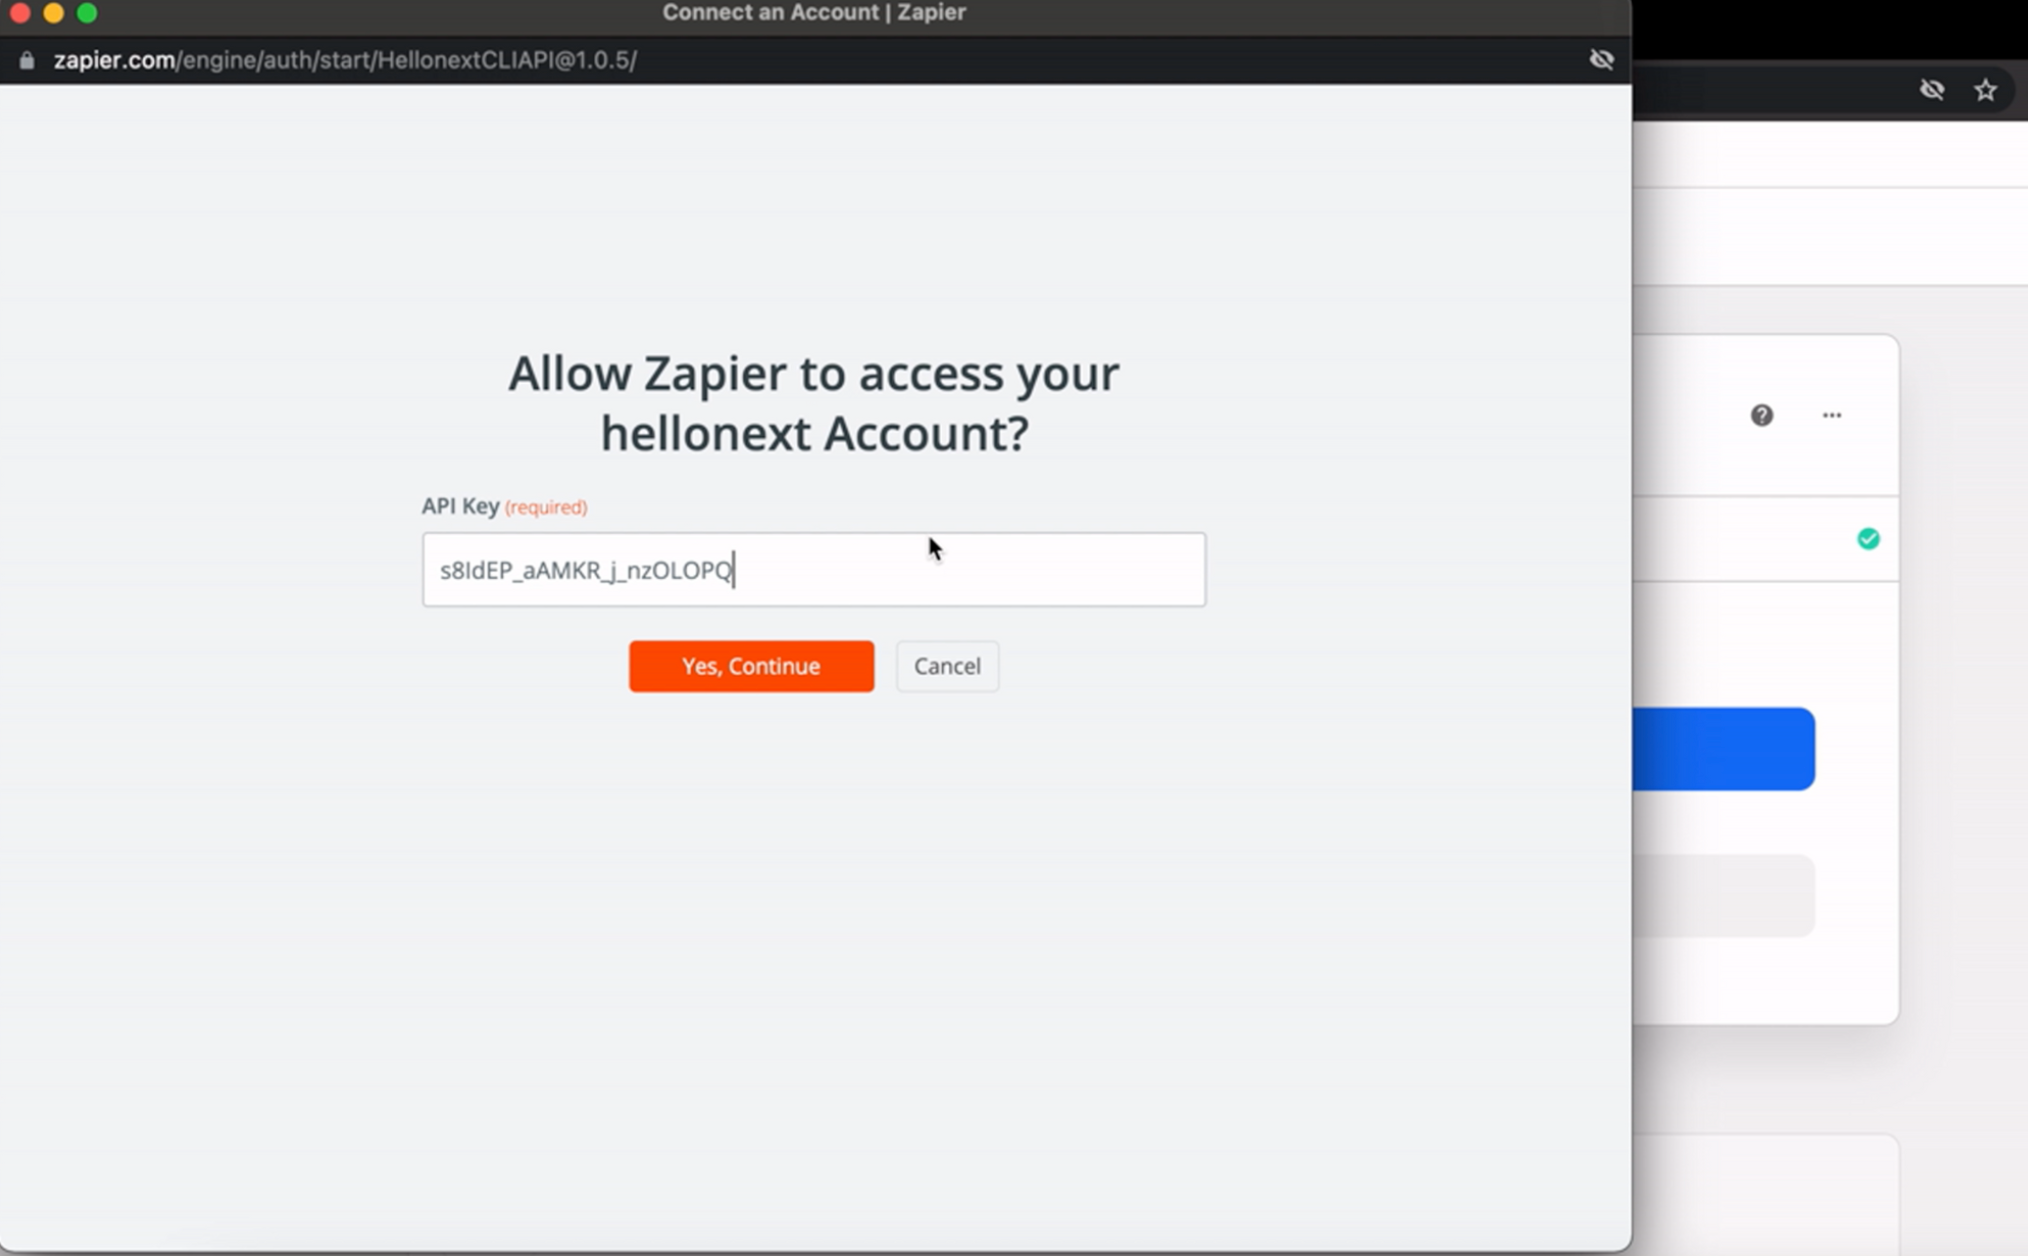
Now, enter the API key of your Hellonext organization.
-
You can find your Hellonext organization’s API key in your Hellonext Dashboard -> Organization settings -> Advanced.

-
Click on Continue once your Organization is chosen.

Setting Up the Trigger and the Action
-
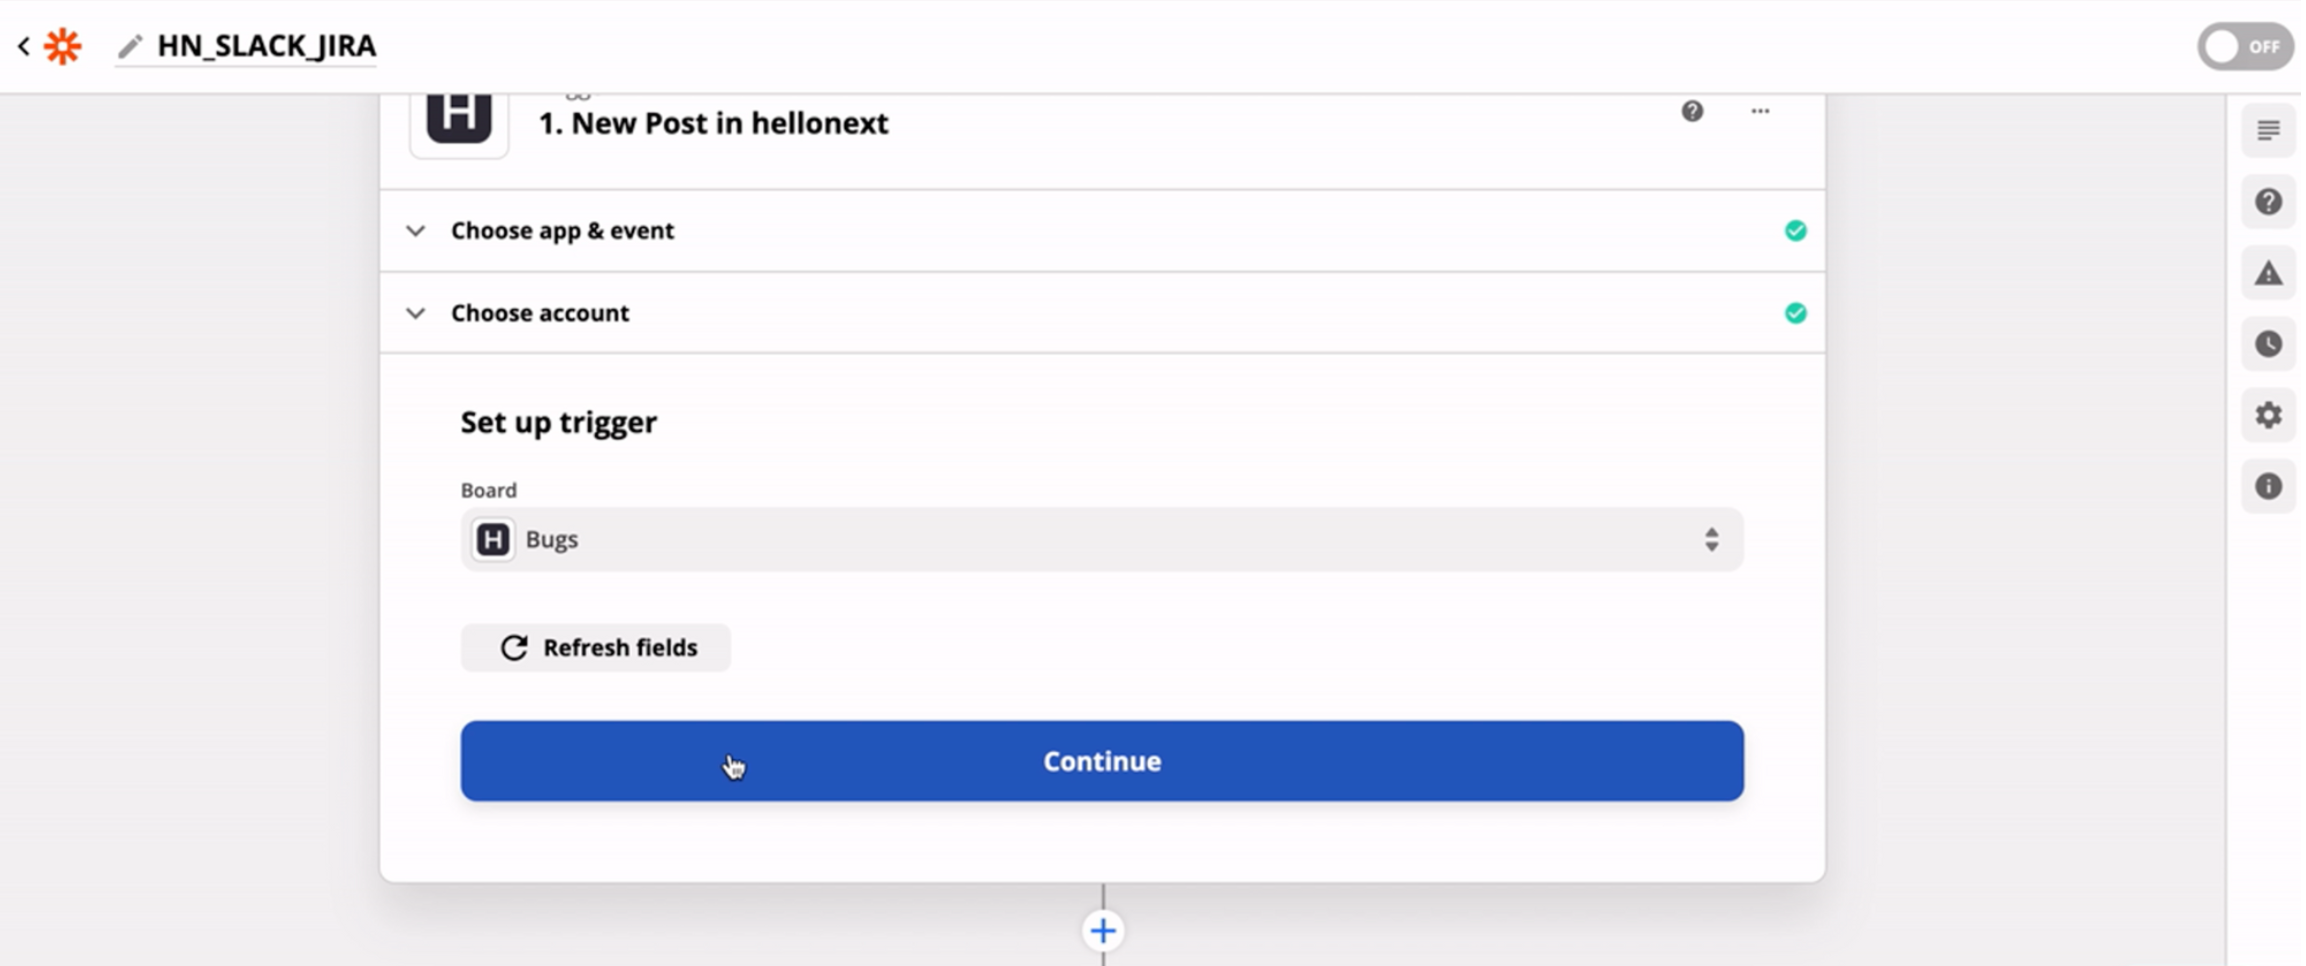
Set up your trigger and click on continue.
-
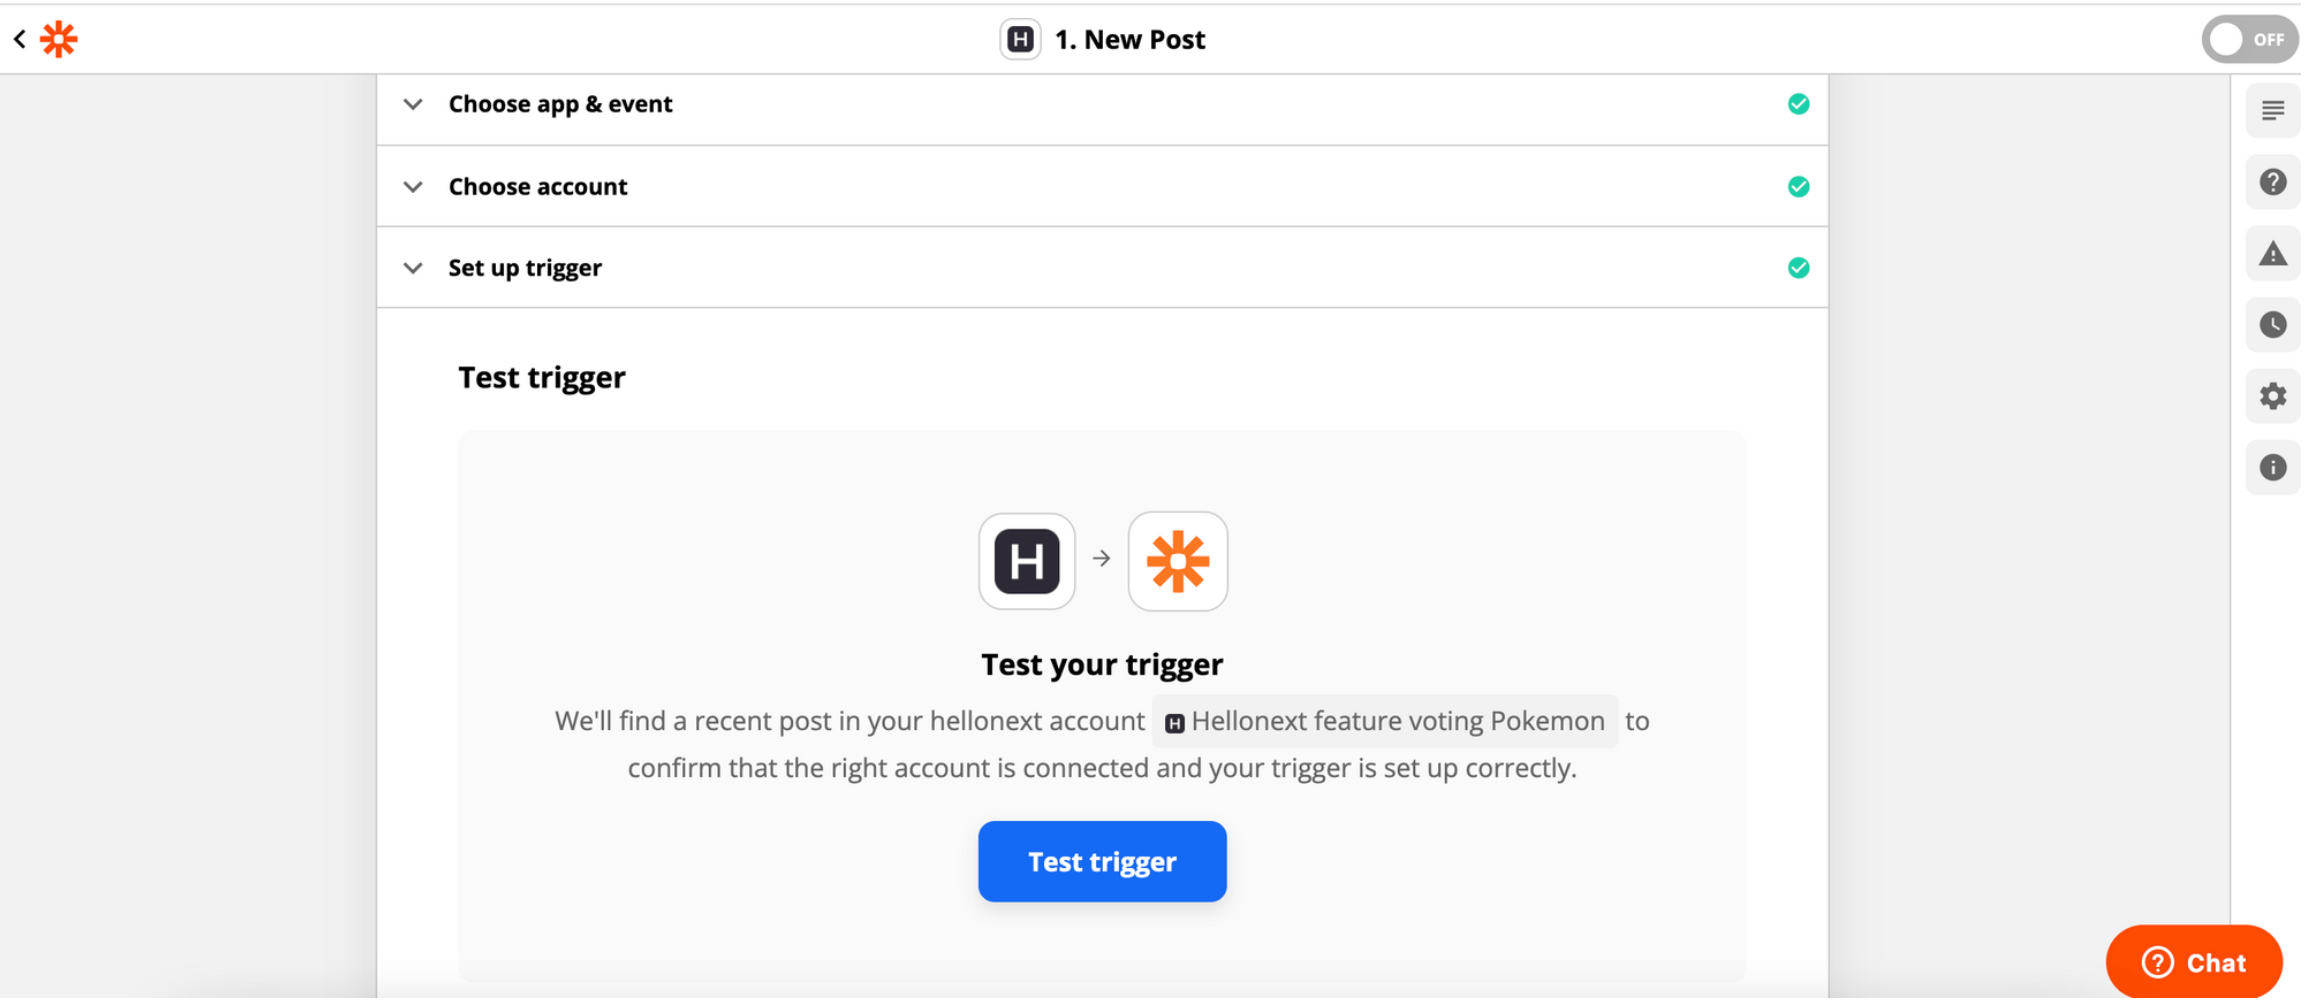
Test your trigger and click continue.
-
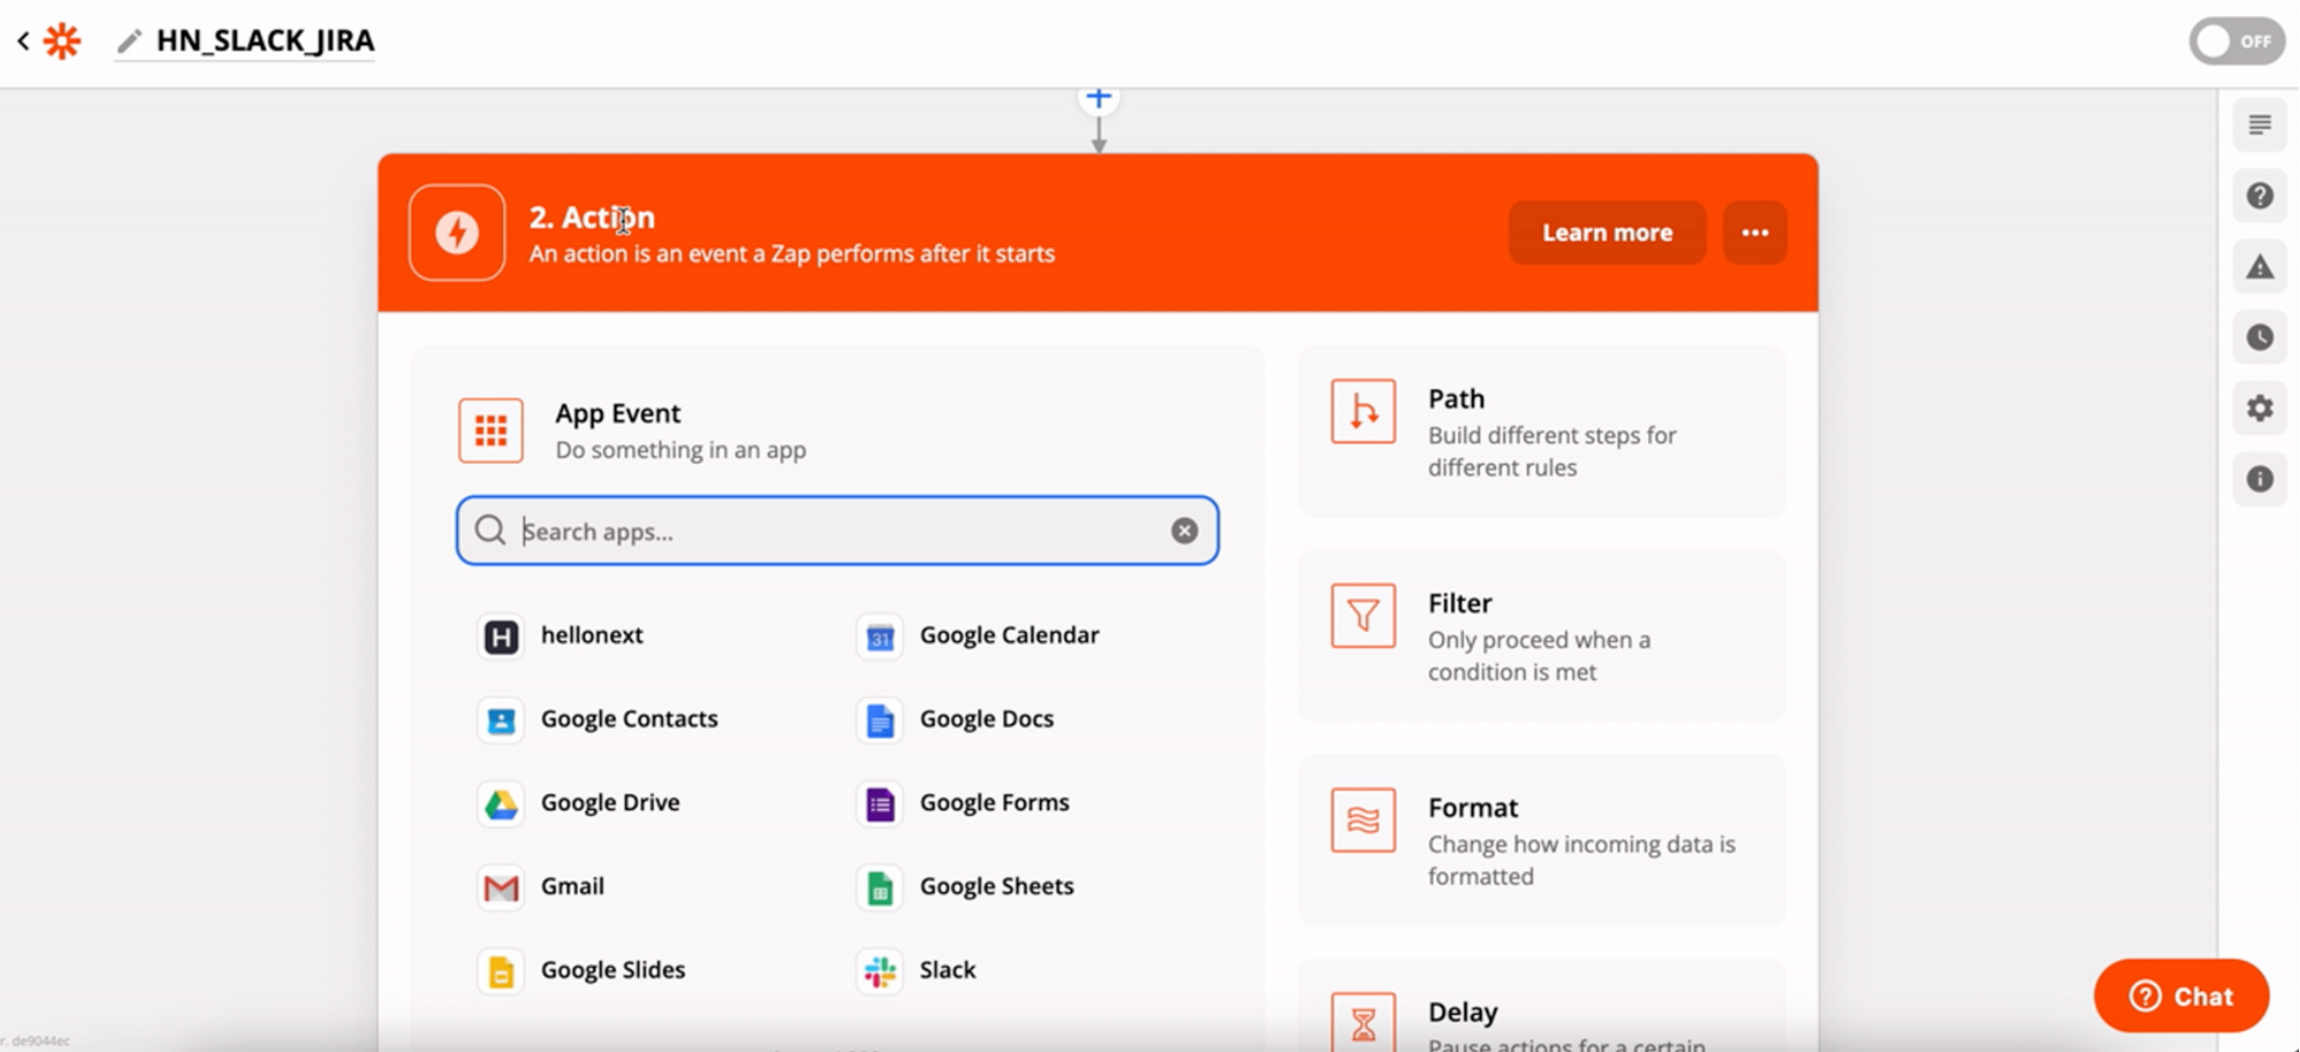
Yaay! You’ve triggered successfully, now choose the Action application of your choice.
-
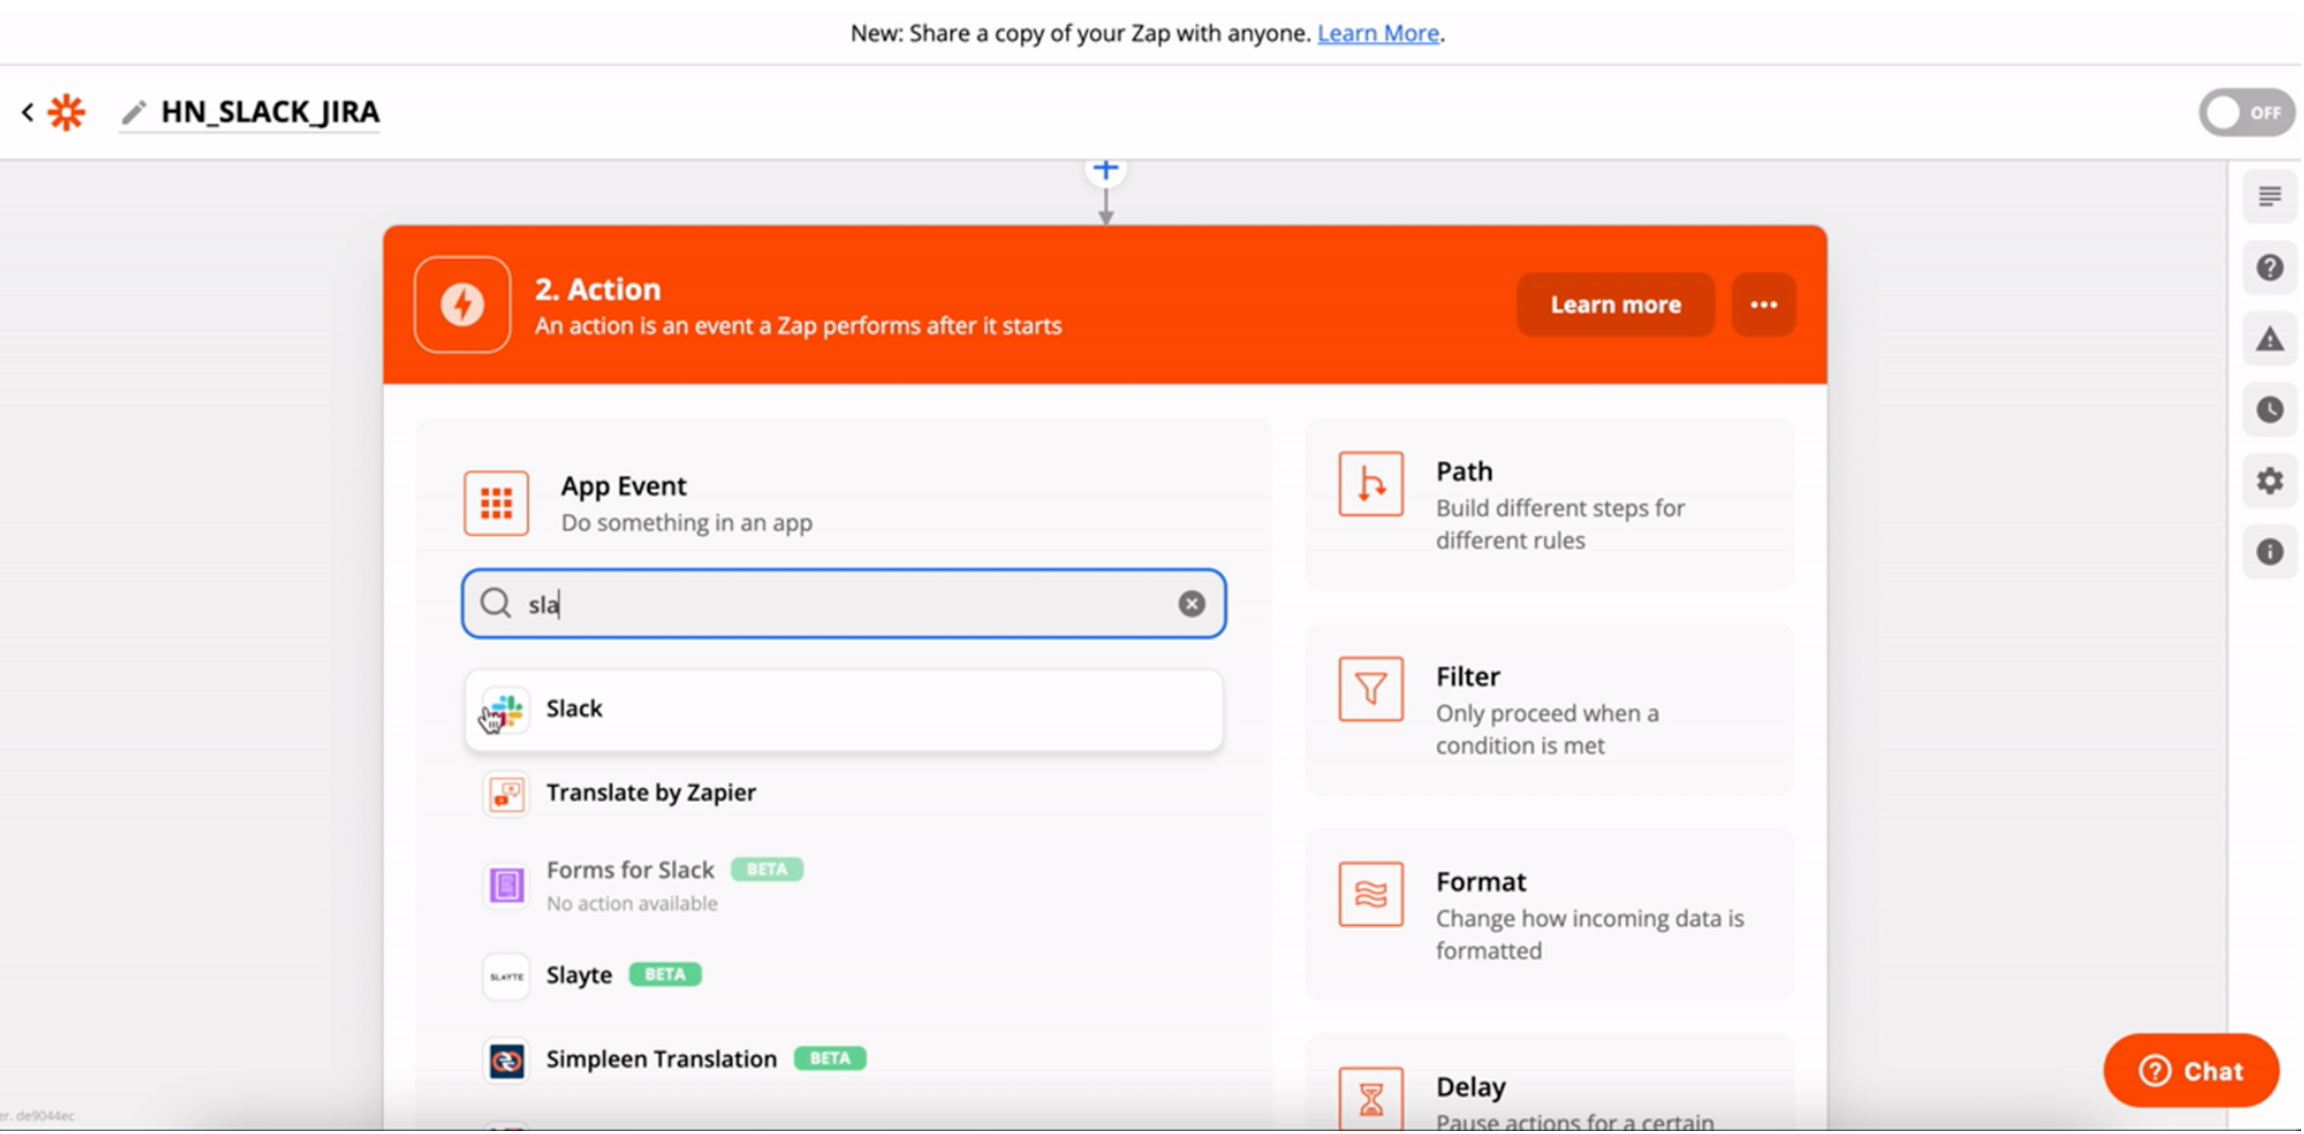
For our scenario we will add an action to send a notification to one of the Slack Channels.
-
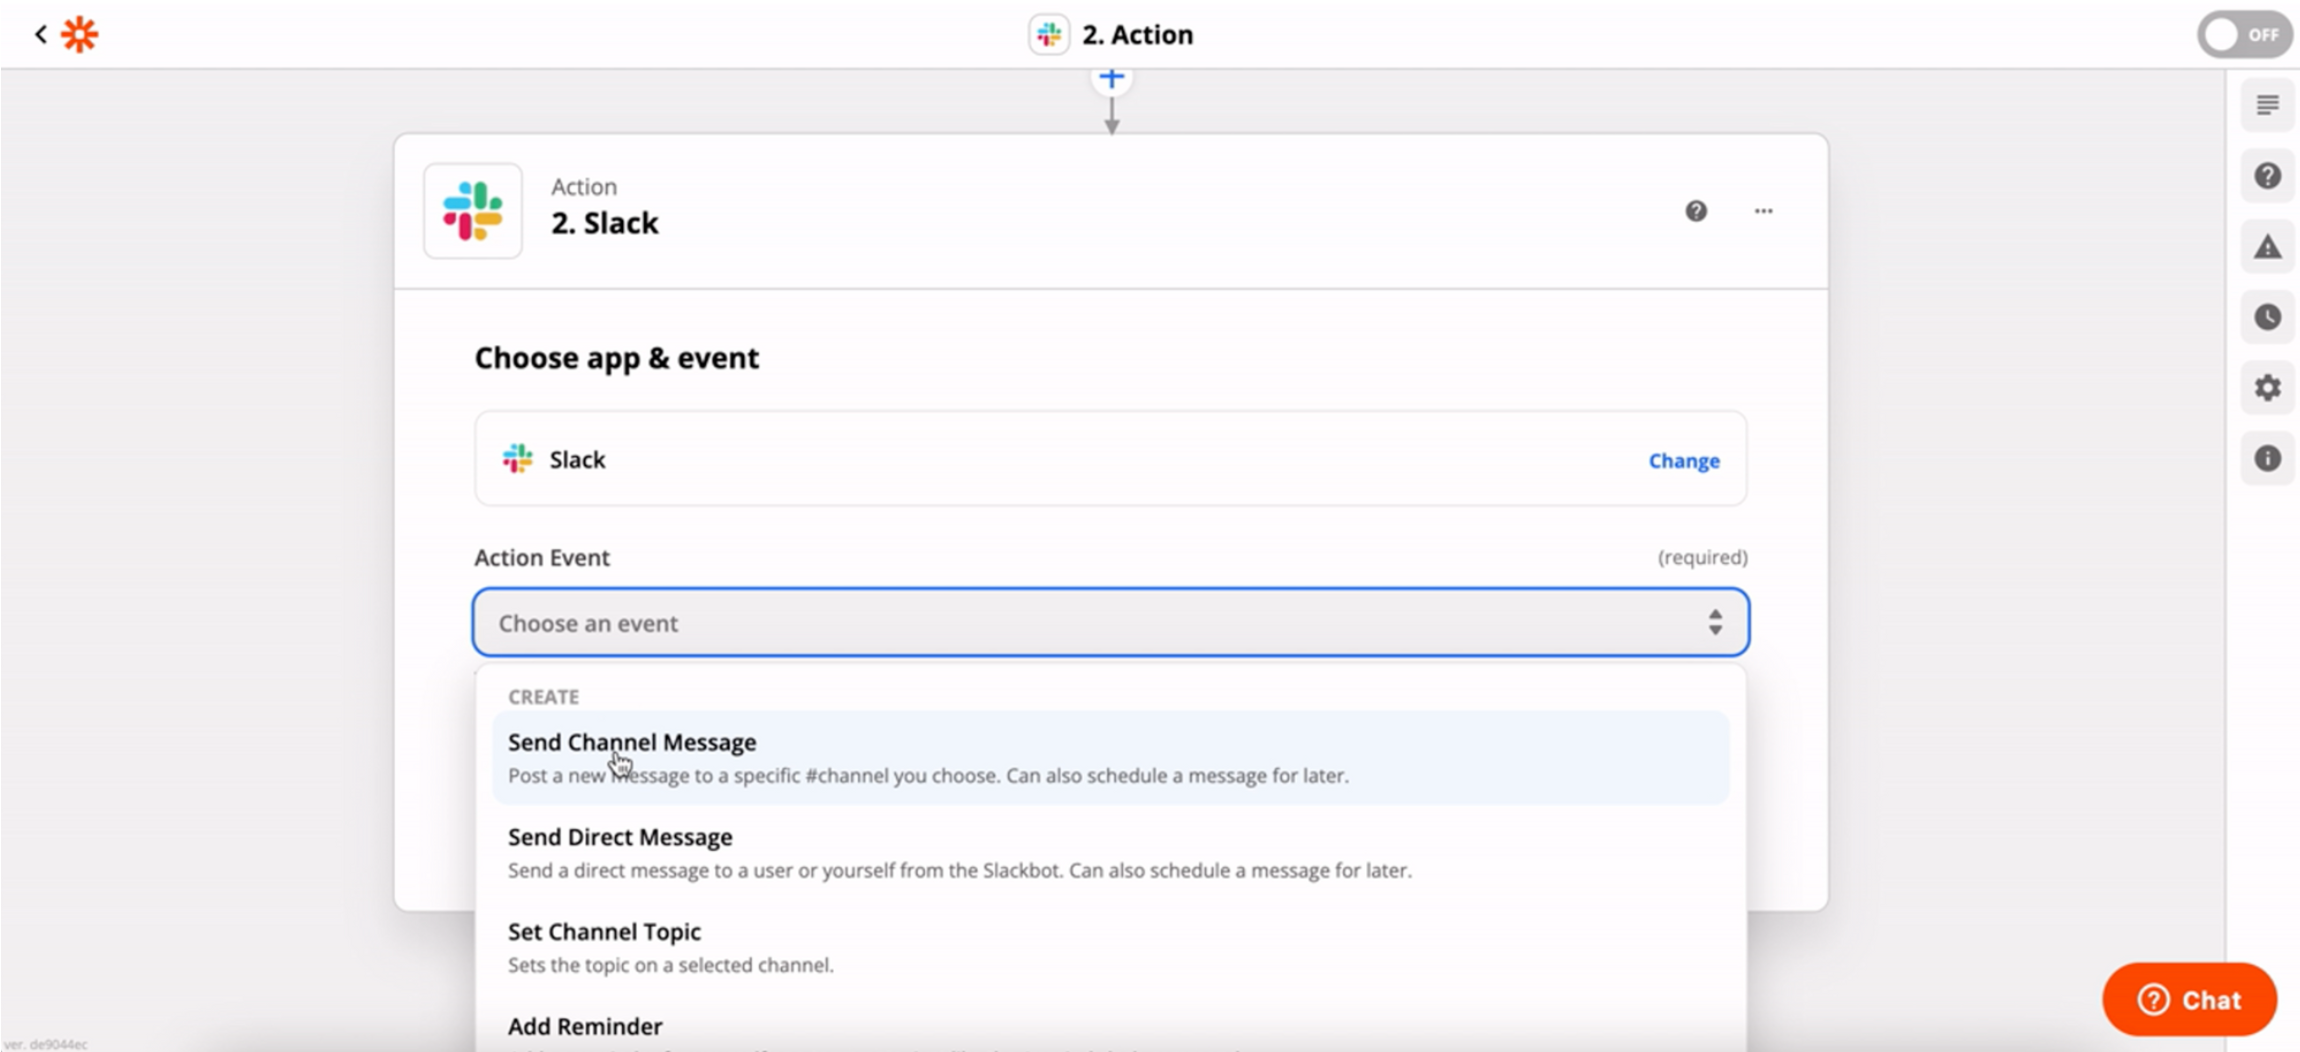
Choose the Action event on Slack, as in sending a Channel message, Direct message, etc.,
-
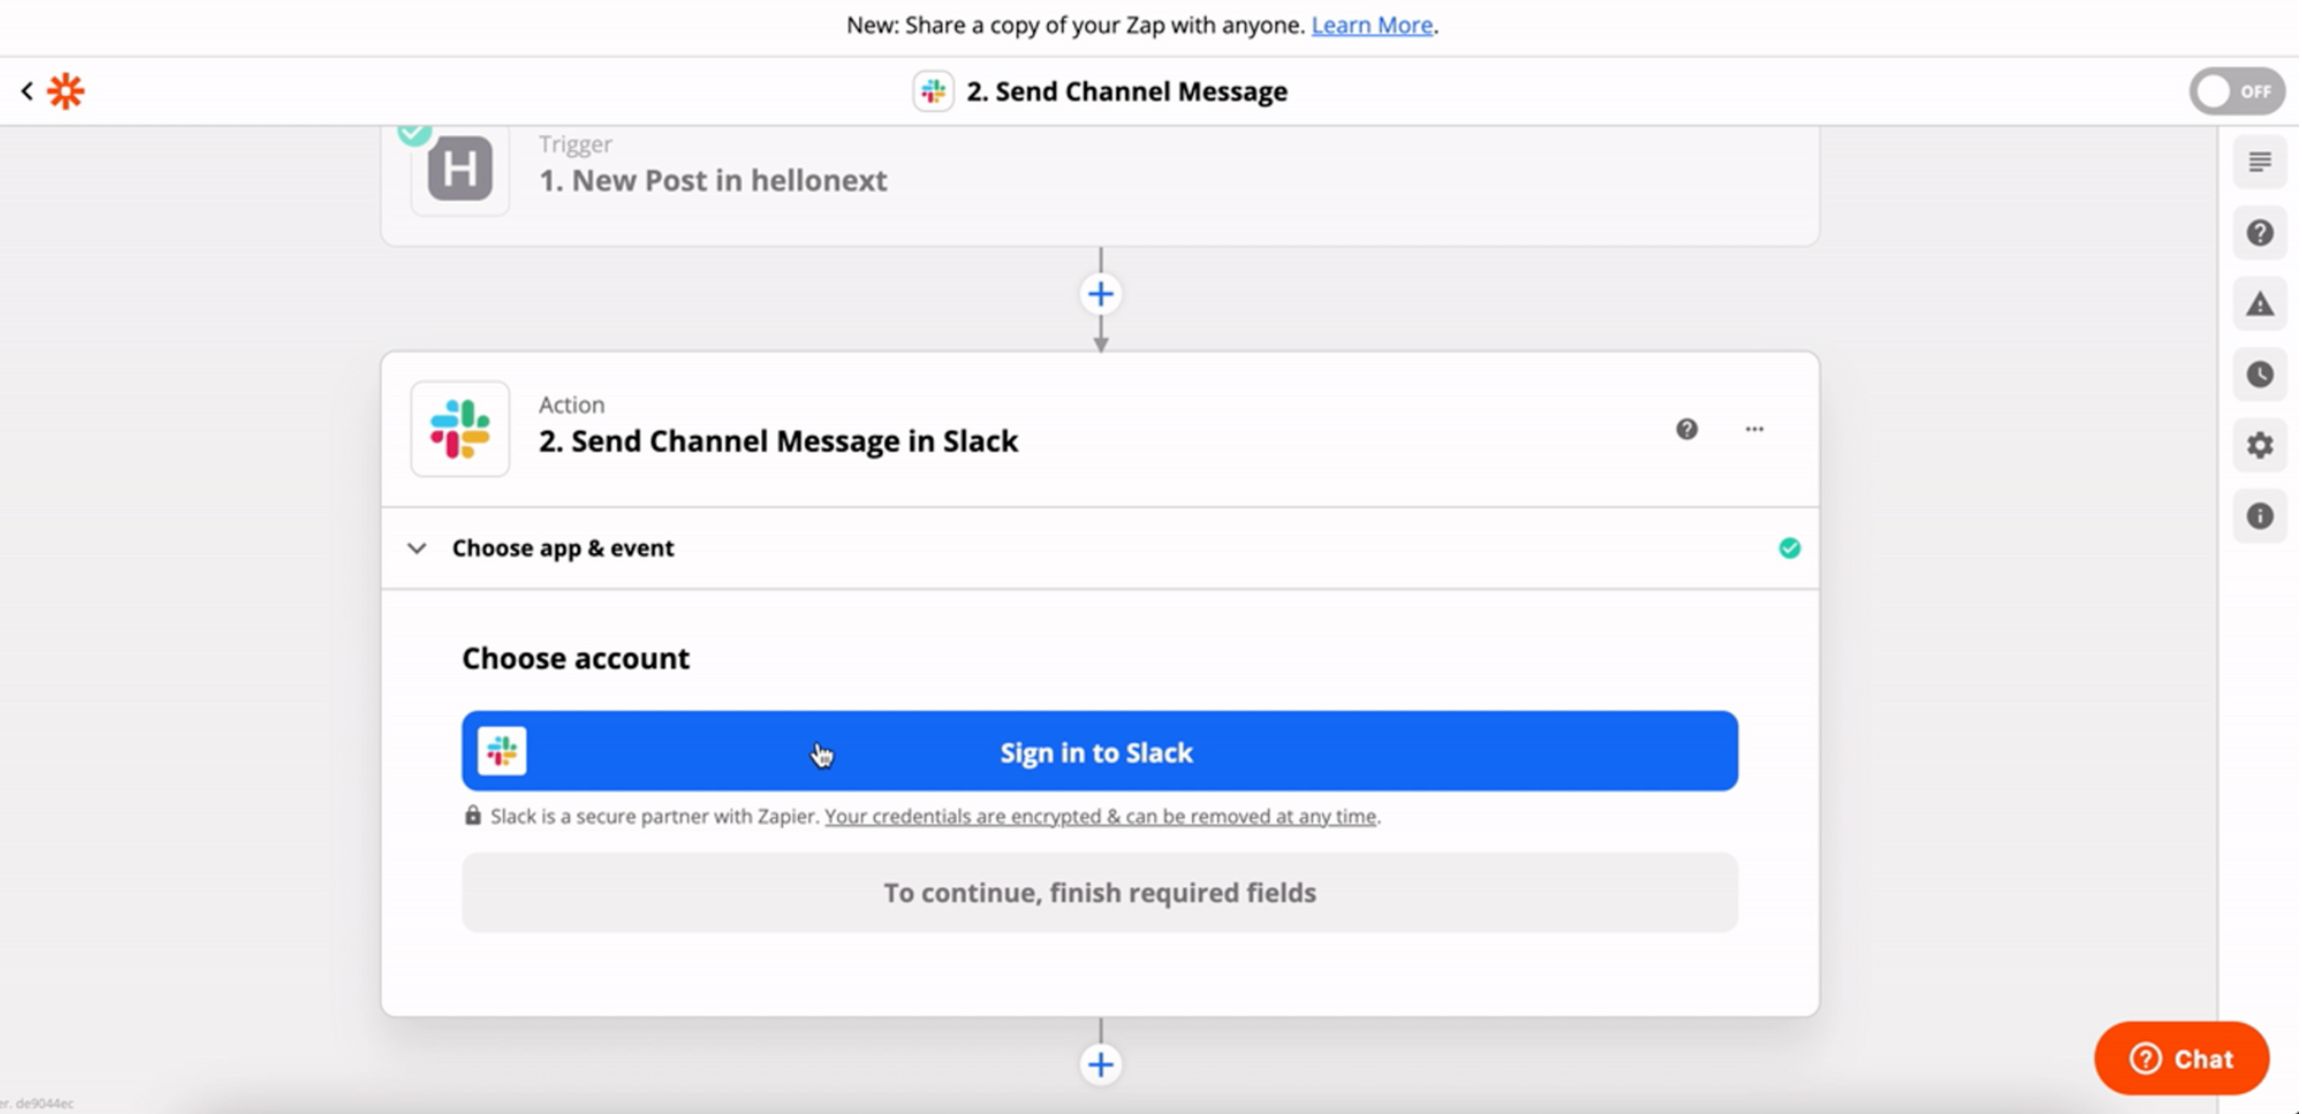
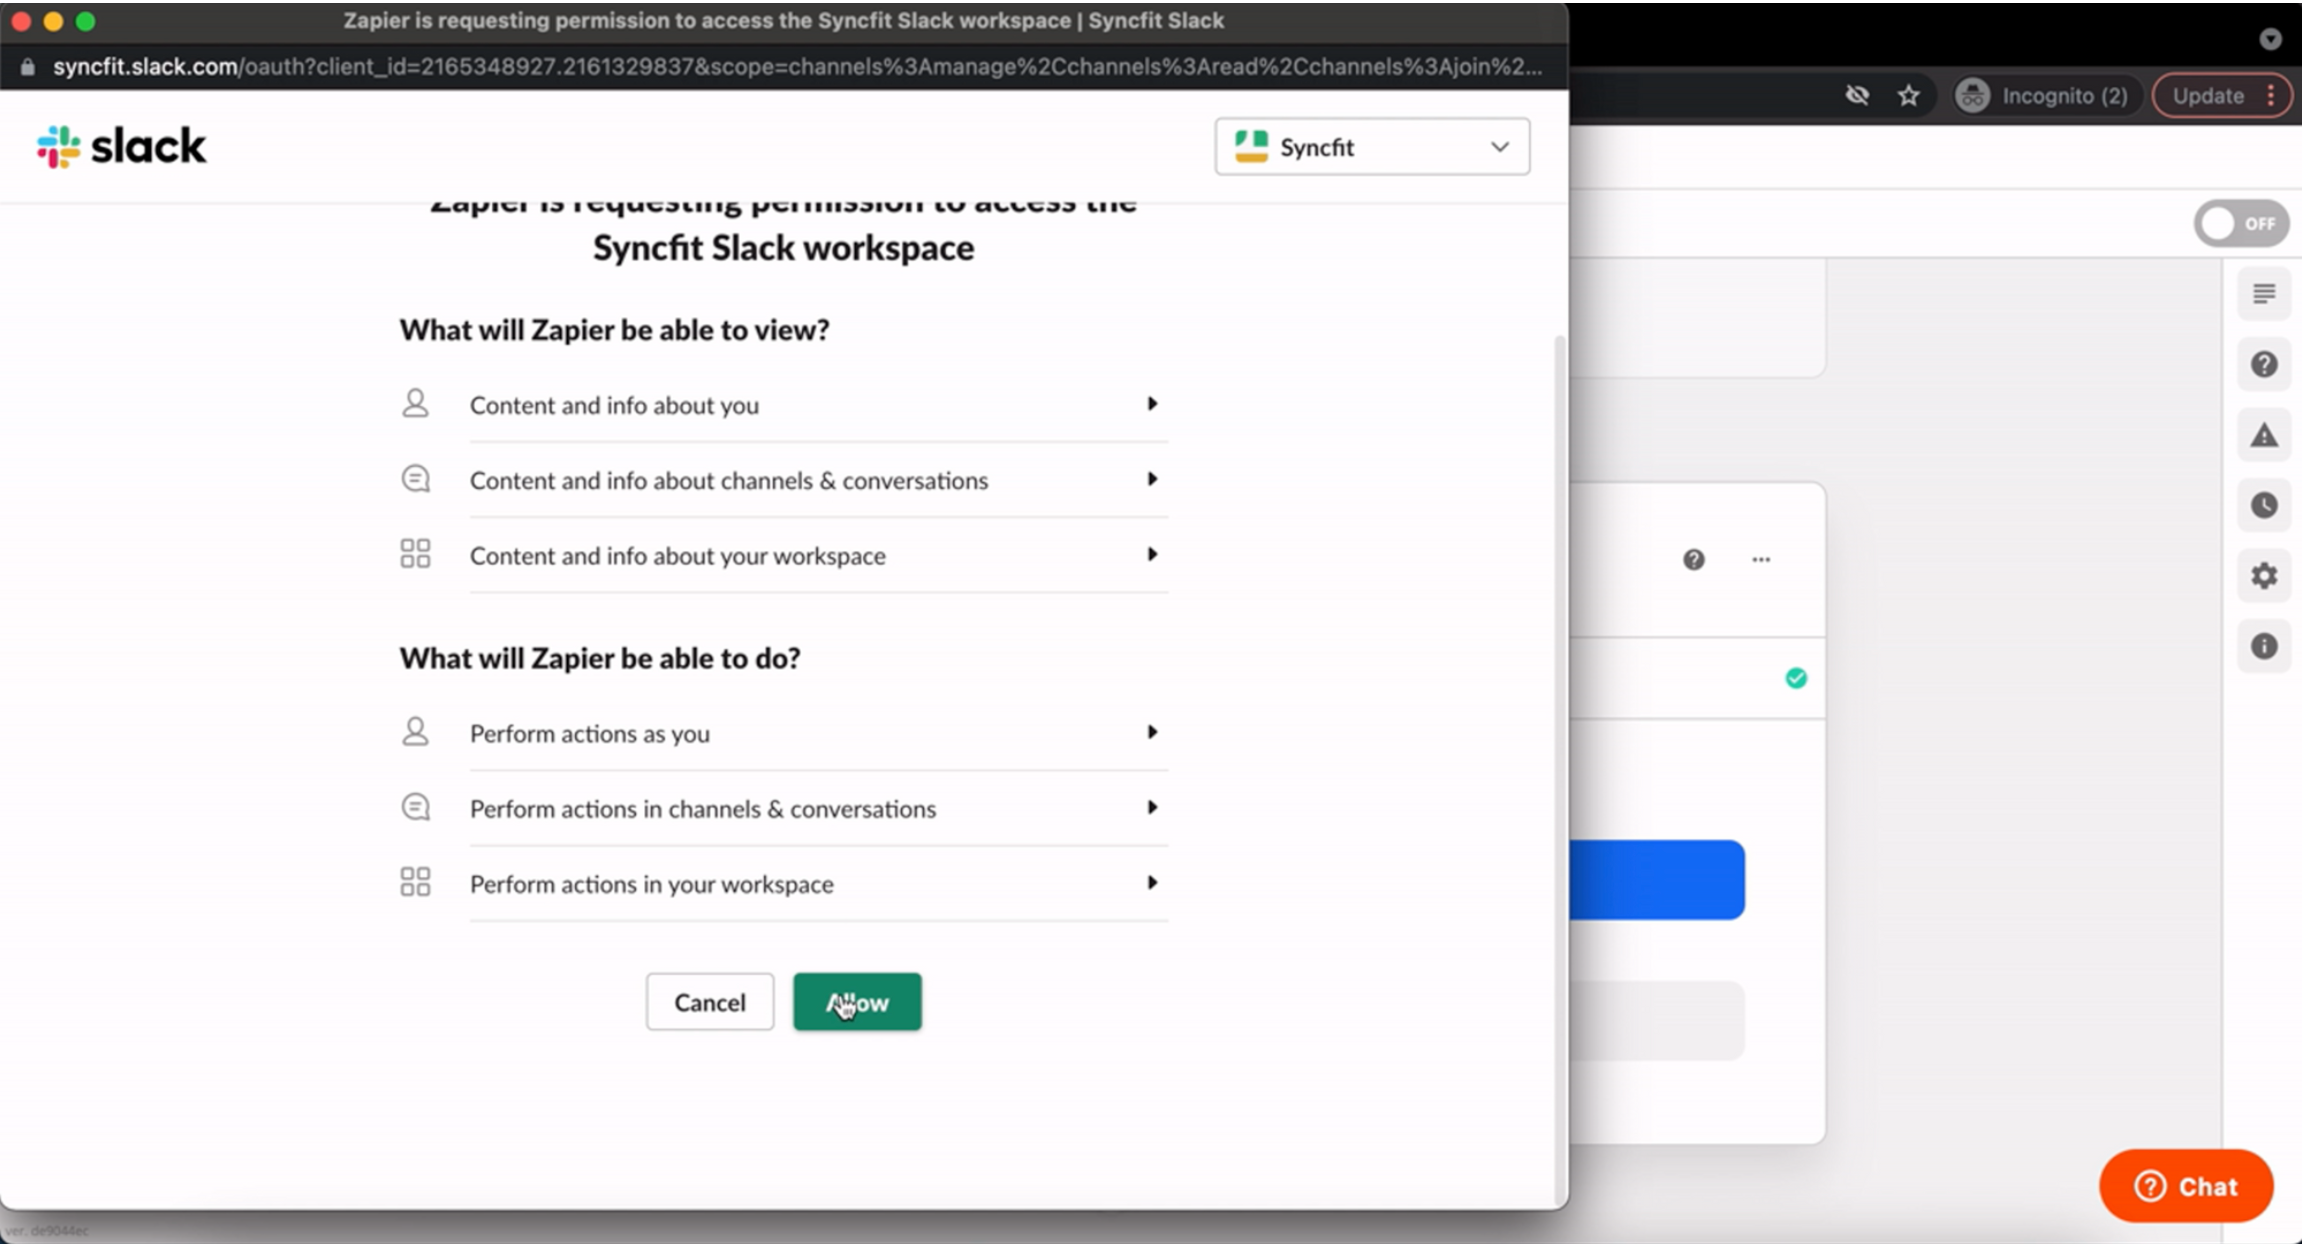
Choose your Slack account by signing into Slack and authorizing Zapier to access your Slack workspace.
-
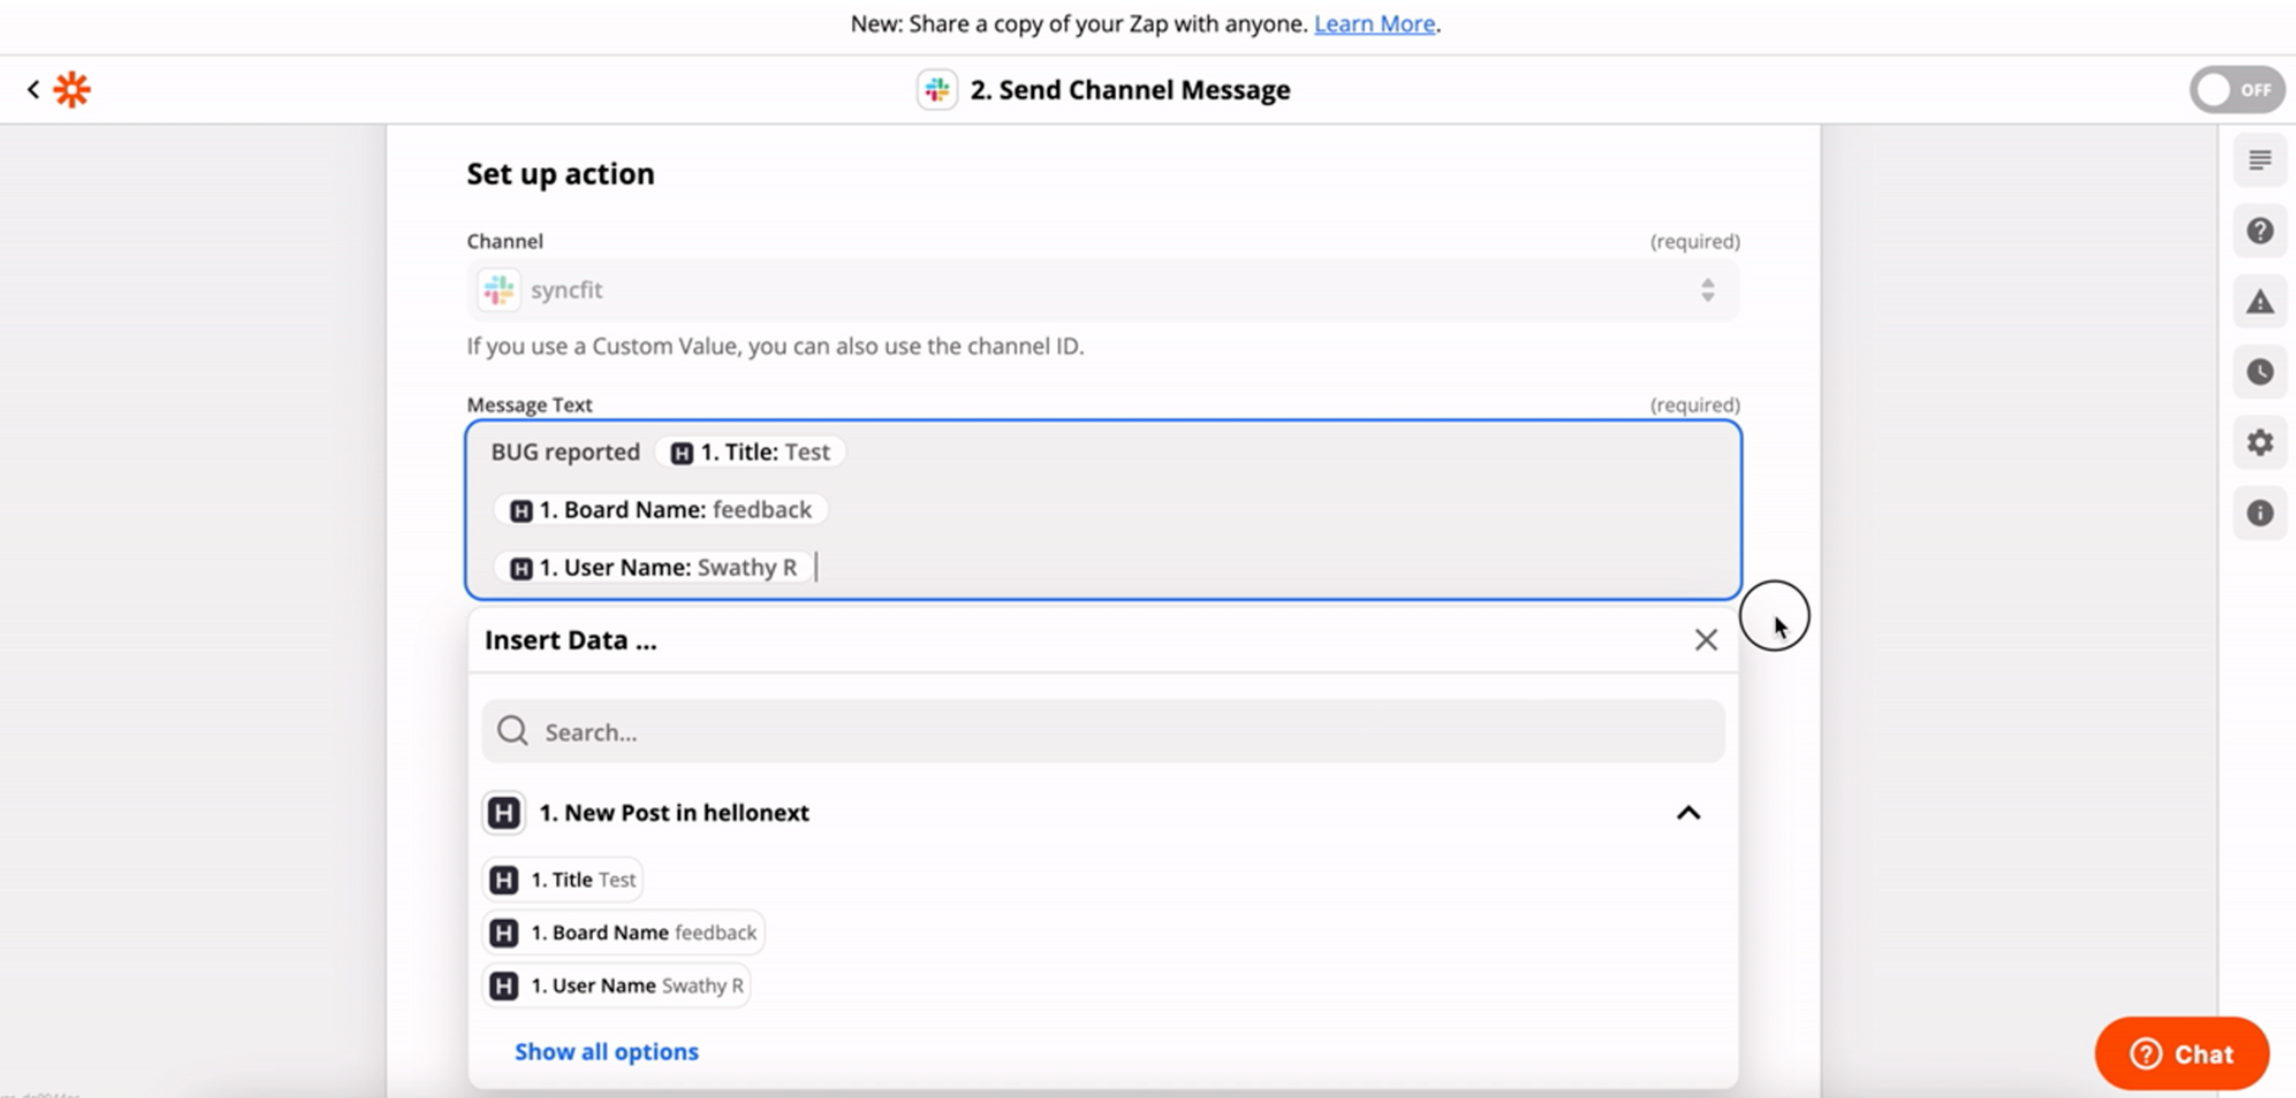
You can now set up the Action items by choosing the Slack Channel in this case, configuring the message text, bot name, bot icon, including a link to the Zap on the slack message, etc.,
-
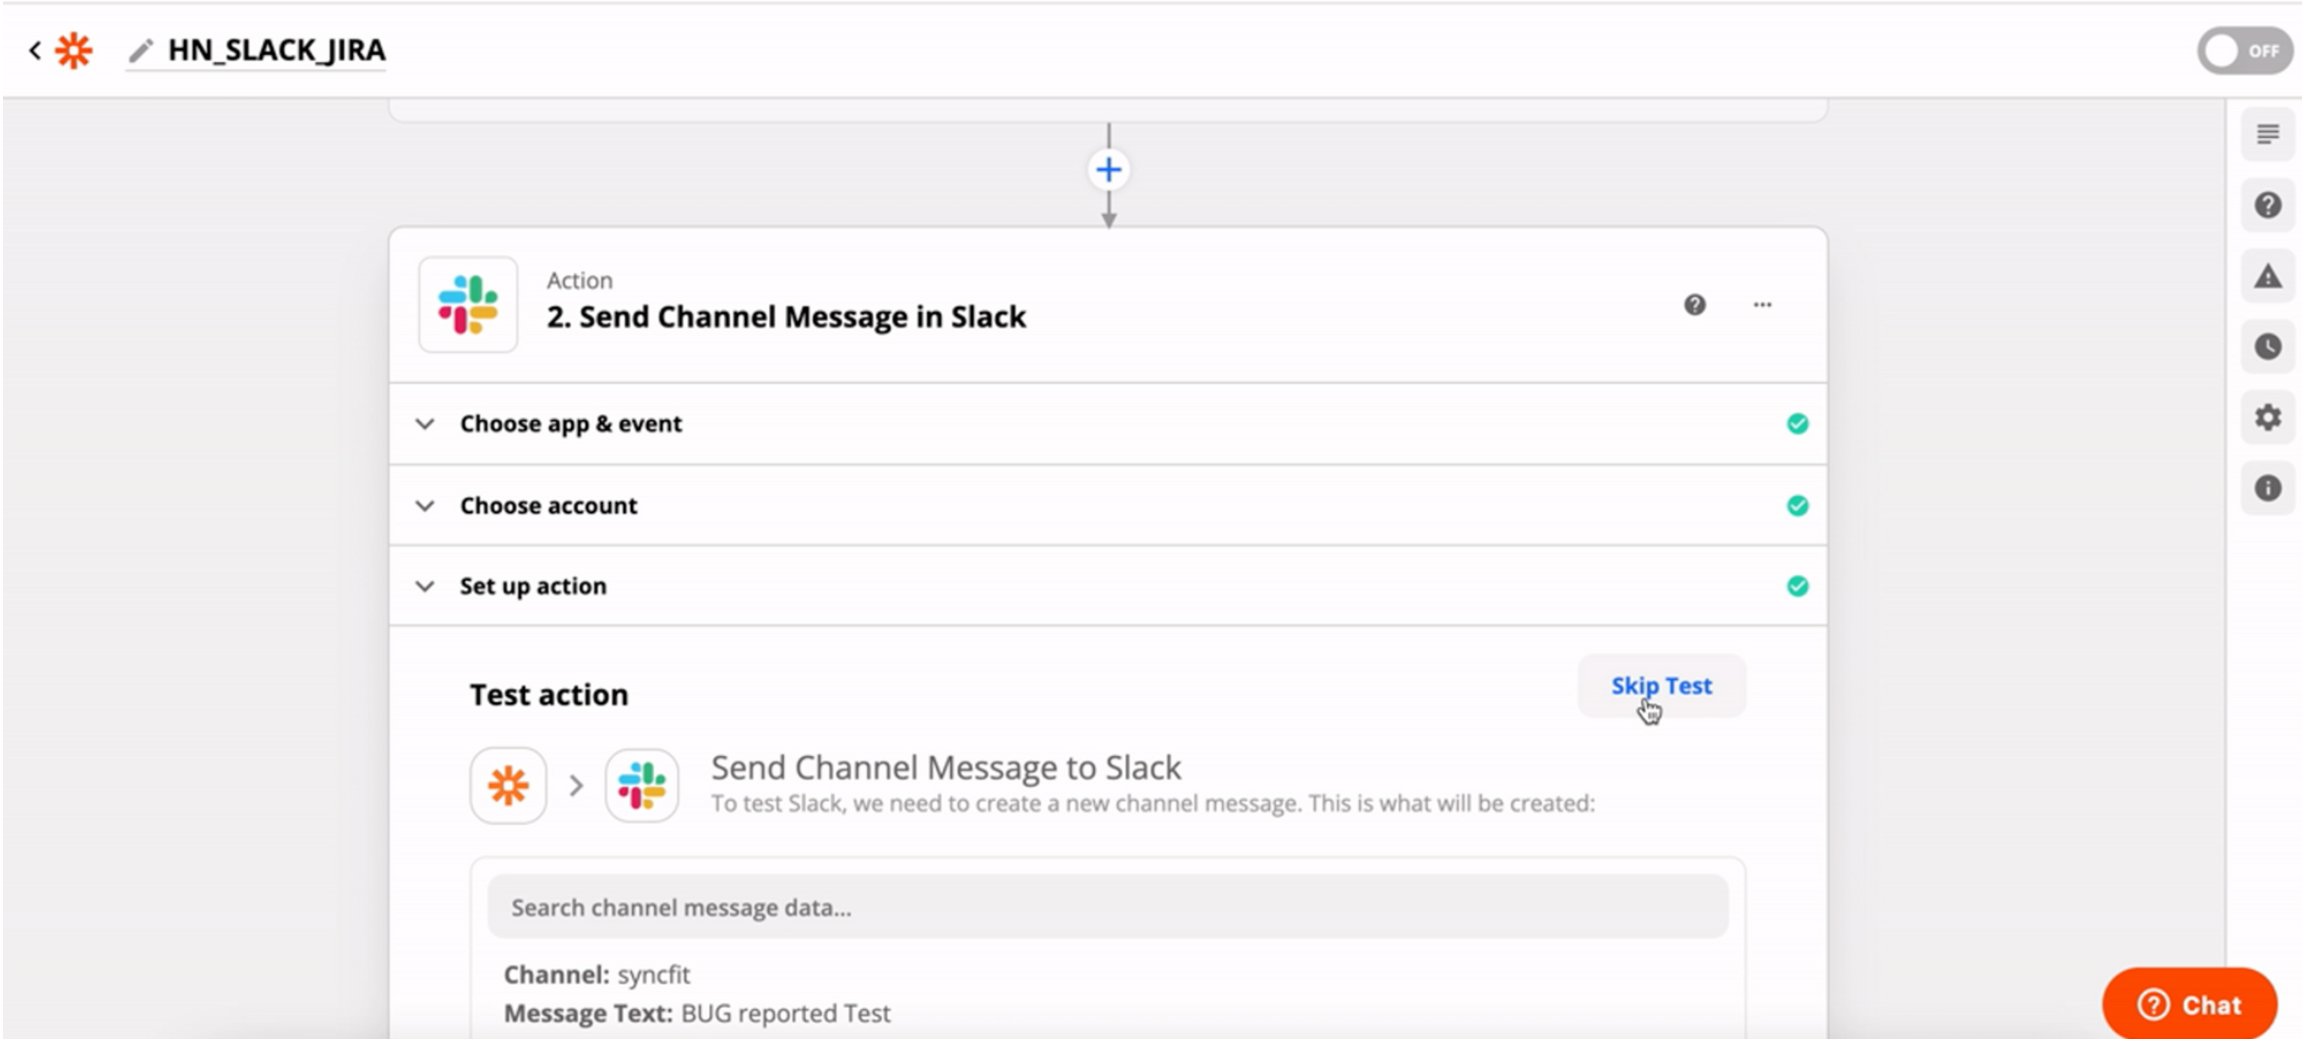
Test the Action if you need to double check the workflow. If you would like to skip this step click on Skip Test.
-
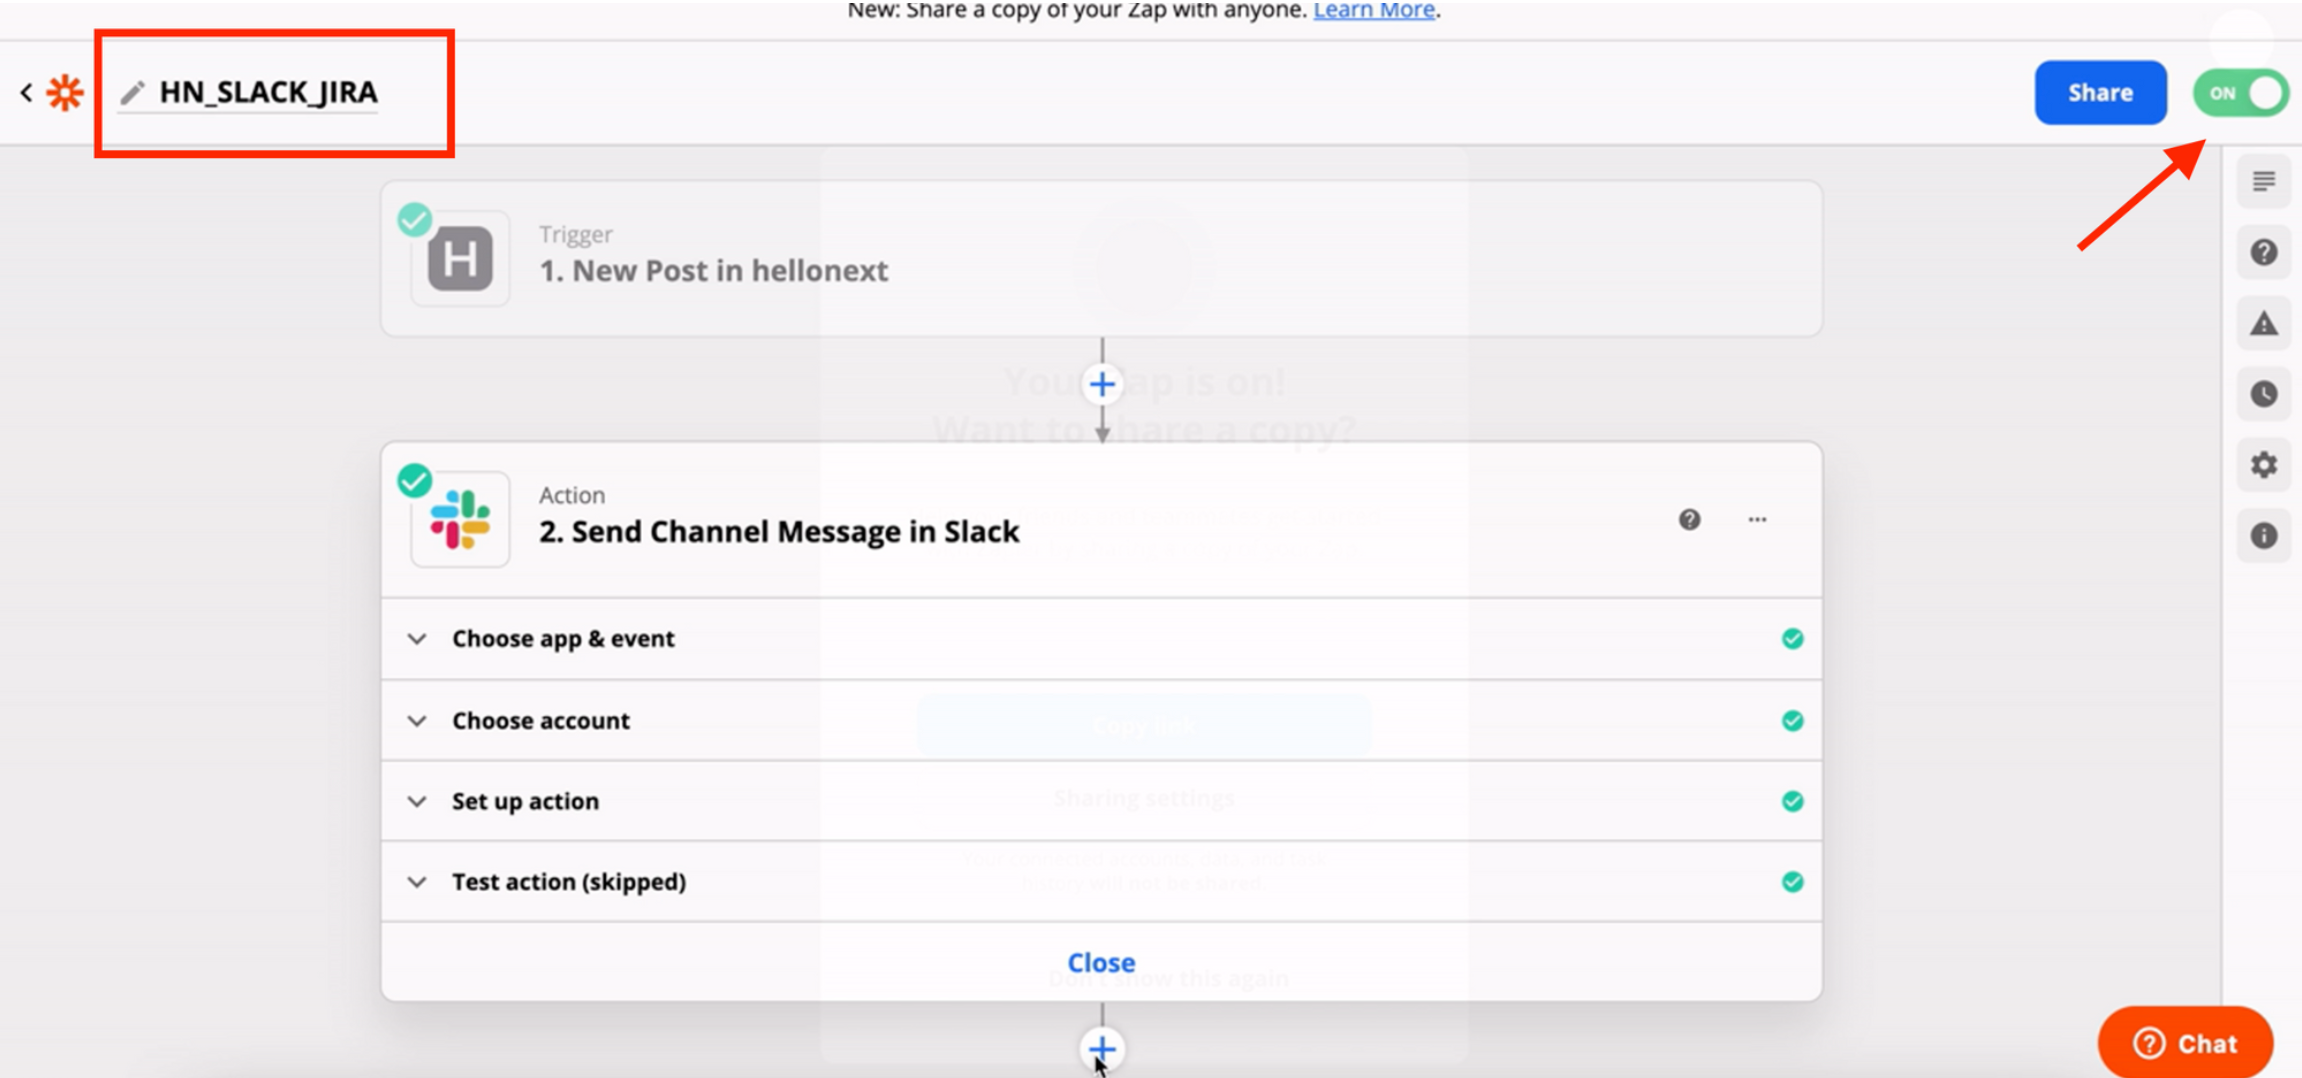
Finally double check if you’ve named you zap and if it is on.
Setting up multiple action events:
-
Similarly, for any other apps your prefer, choose the App event and follow the onscreen steps to configure action event based on application you chose. Test the action if you prefer, make sure you’ve named you zap and it is on.
-
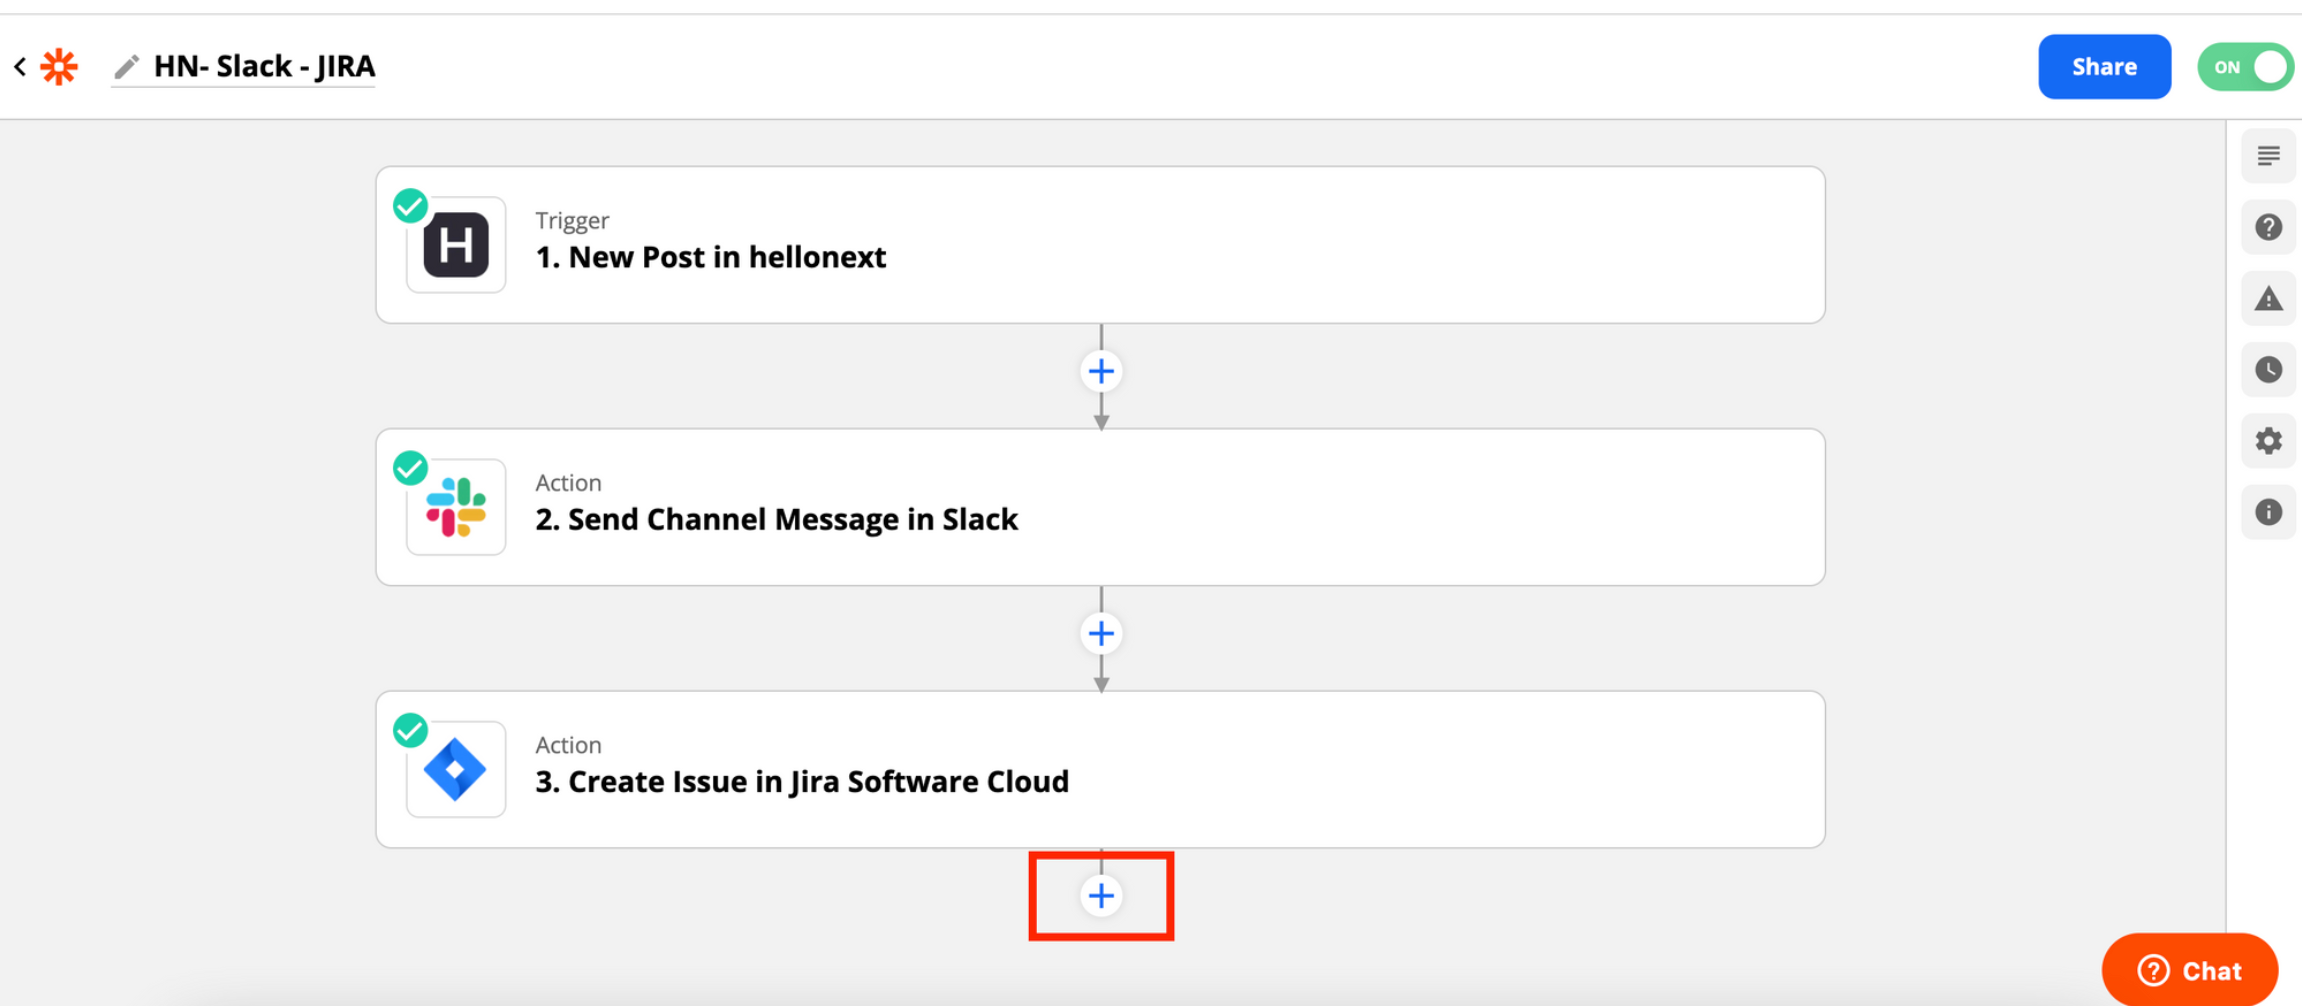
You can set up multiple Action events to one trigger by clicking on the + icon at the bottom.
Looking for inspiration?
Check out our customer use-cases of automating Zapier with multiple tools!
Workflow examples
Hellonext integration with Slack and JIRA via Zapier. Here’s a screen recording which will take you through these steps:
Seems rather easy and simple to follow doesn’t it? That’s because it is! Do feel free to reach out to us if any queries should arise! :)