Hey there! This article takes you through how to publish the Changelog for your enterprise on Hellonext. 😃
Let’s start with the basics! So, what is a Changelog?
A Changelog is simply a log or a record of all the important notes/changes made in a project. This project is nearly always a website or a software project. This Changelog will usually include updates on bug fixes or new features.
👉🏼 Checkout Hellonext’s Changelog ! 🚀
And here’s how you can draft and publish a changelog!
Sign in to your organization’s page. This directs you to your organization's landing page.
You can then click on Dashboard on the upper right corner of your home page.
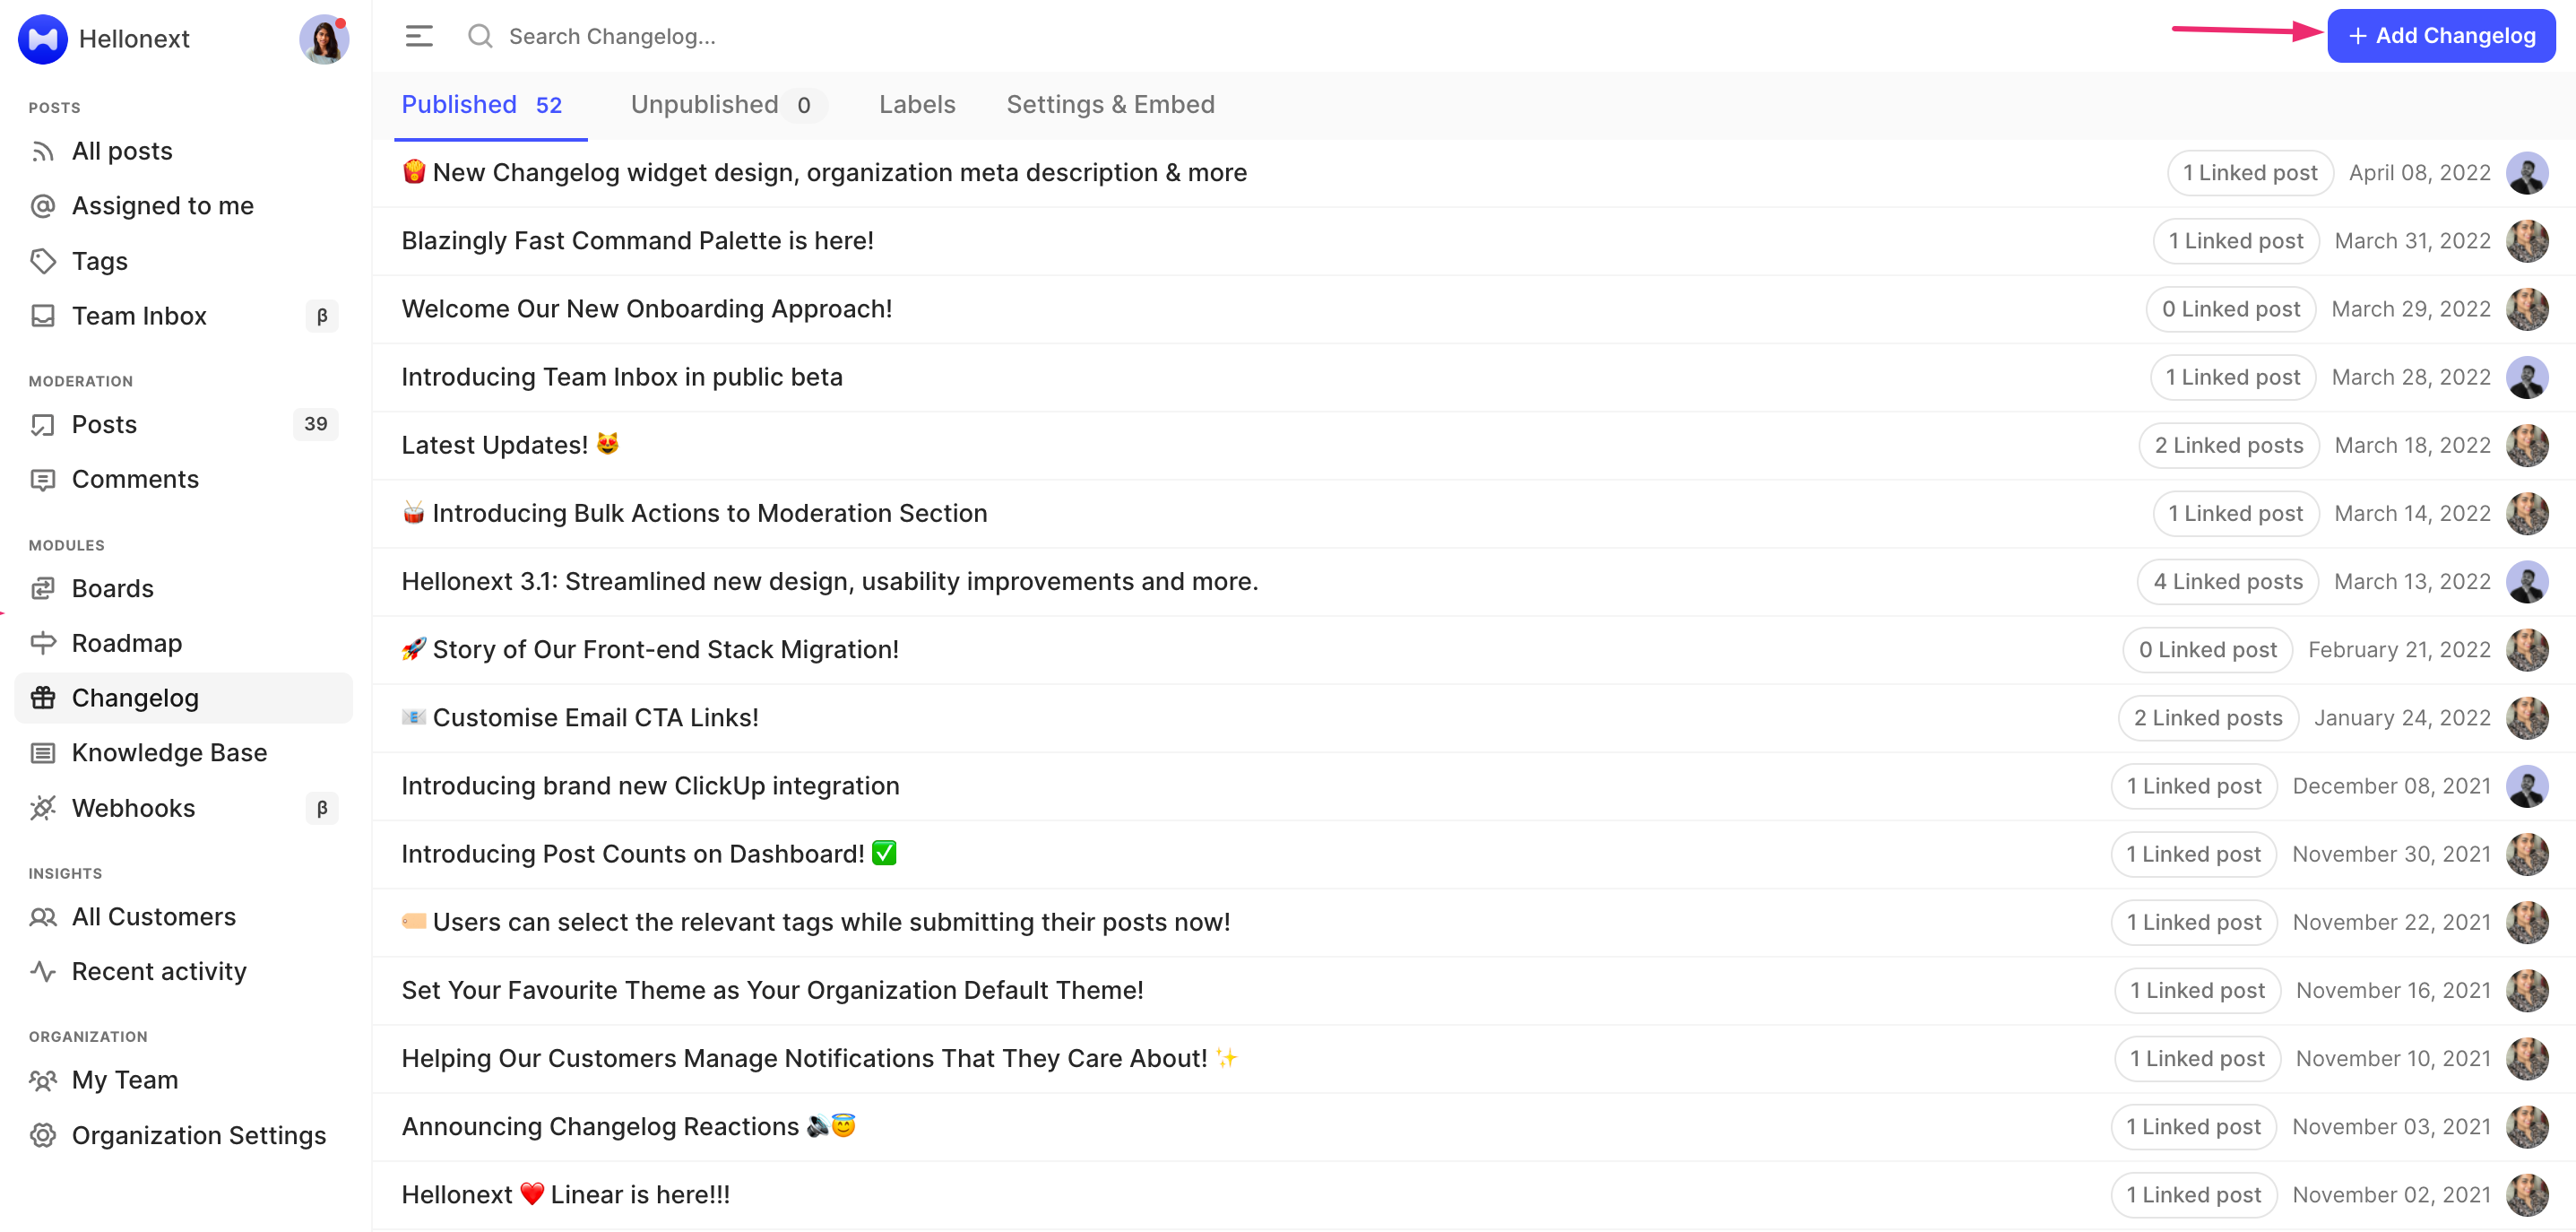
On the Dashboard, you will be able to see the Changelog module in the left panel
-
Click on Add Changelog option on the right side corner.
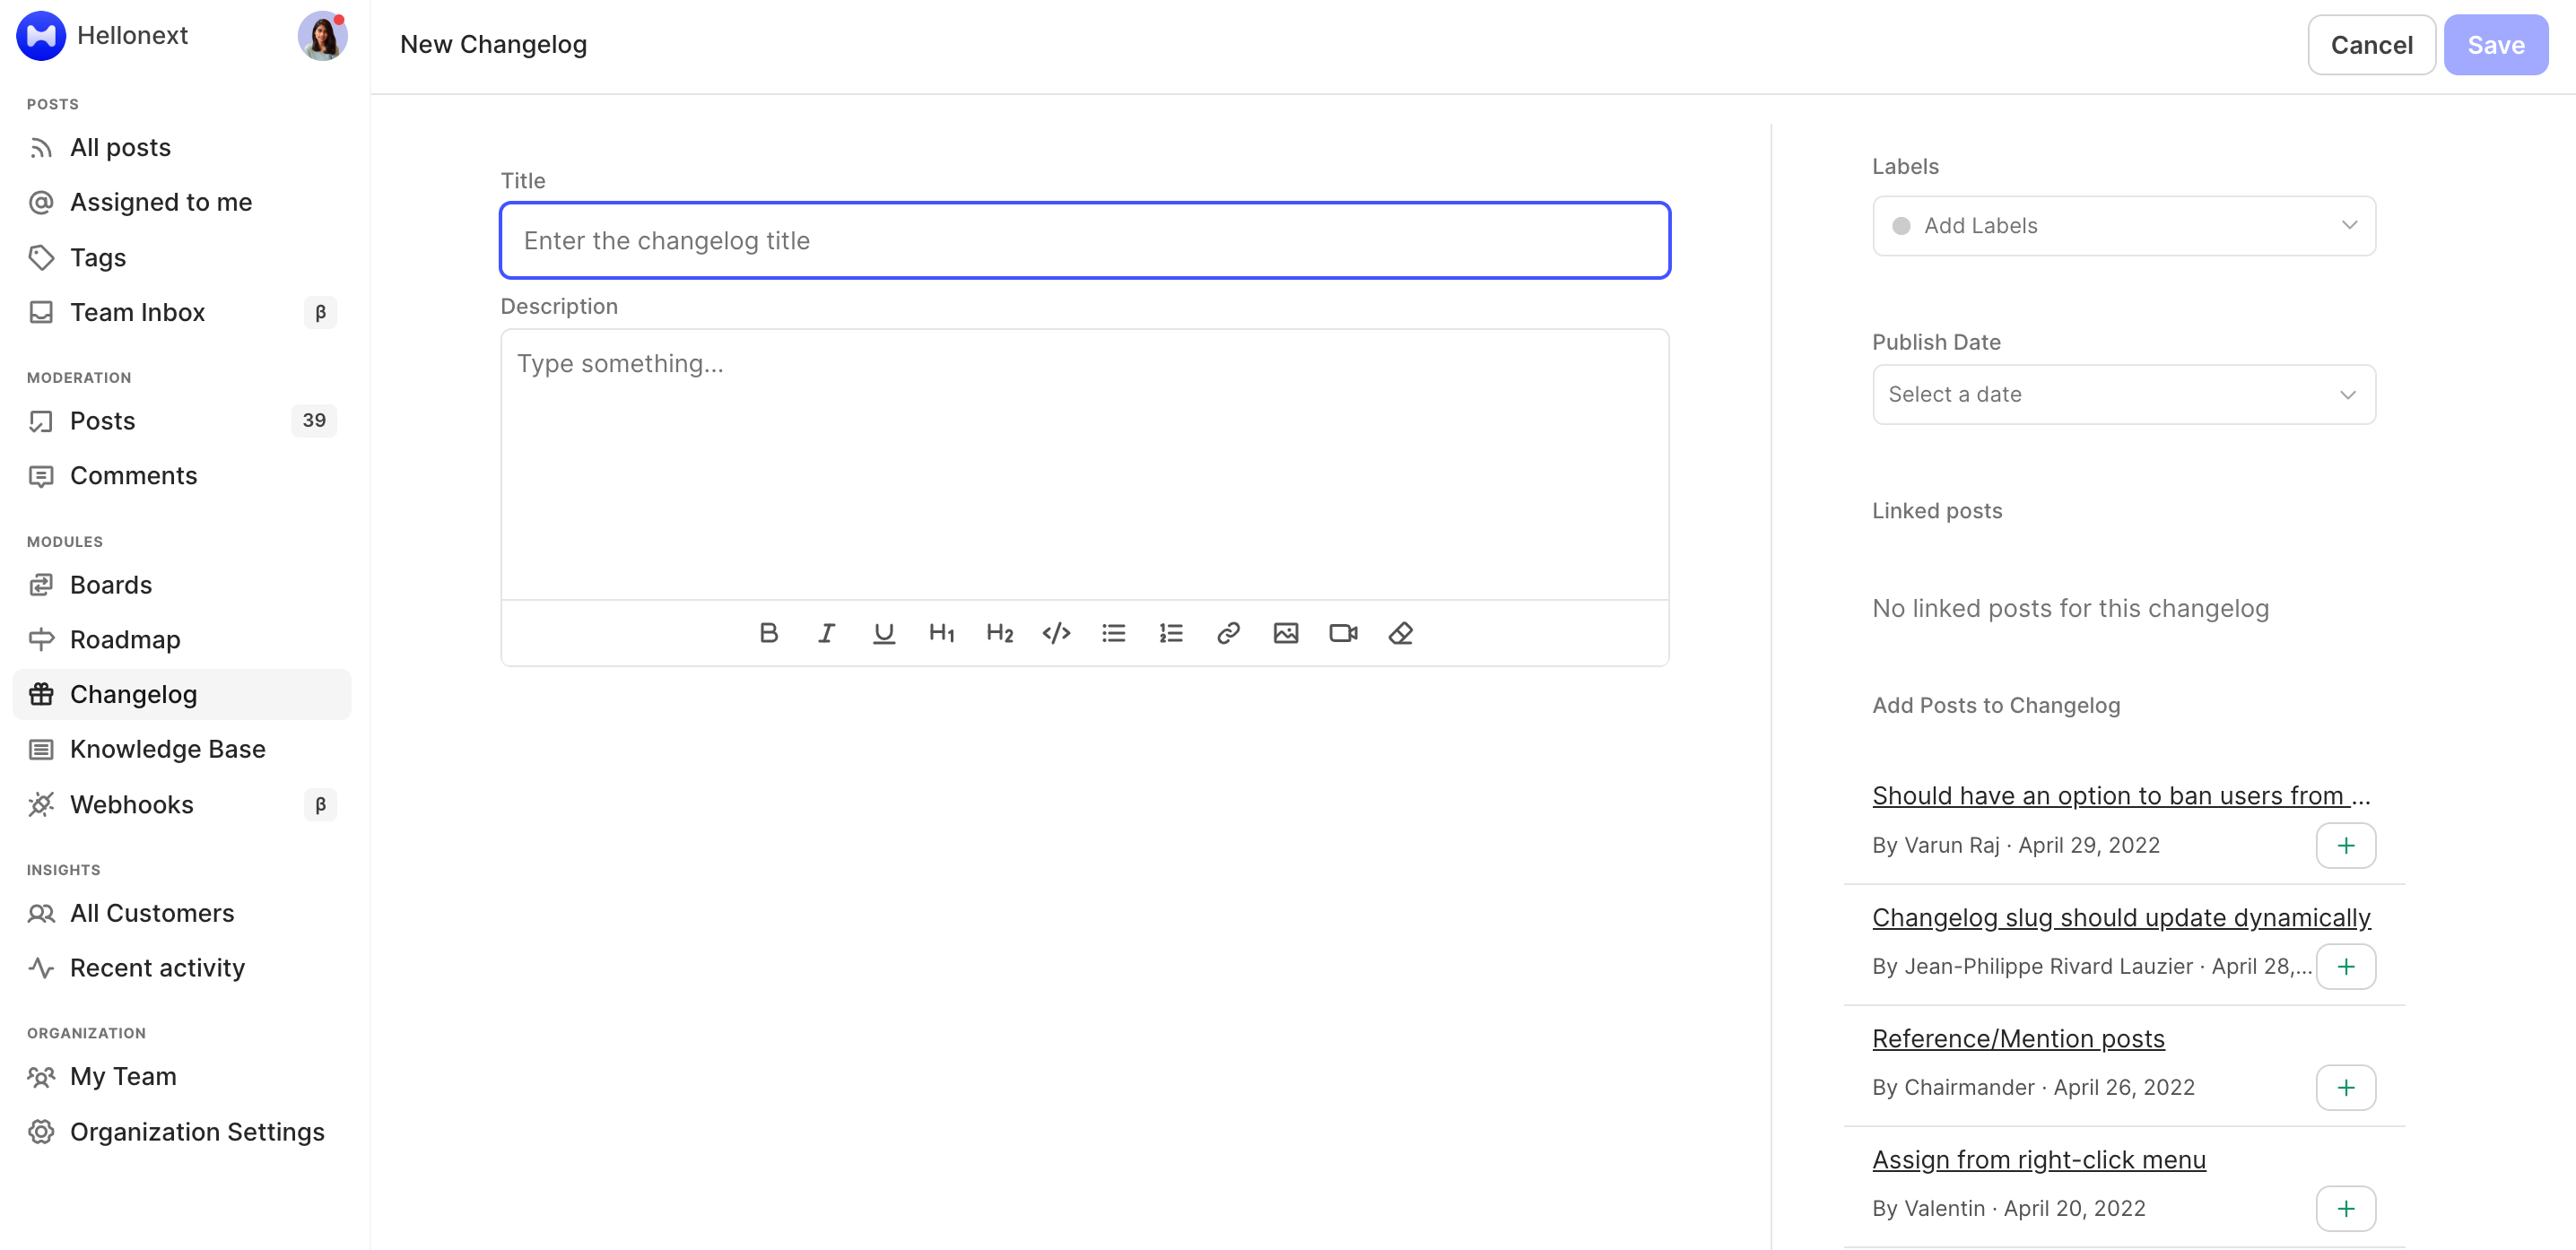
Now, the changeling dialog box appears fill any description you require to add to the text field of your Changelog.
-
You can note that there are text formatting options given at the lower end of the text box. Yes, we have brought the gleaming brand new editor for you to make your Changelog easy and simple to read!
Guess what? You can also embed YouTube videos, images, and even web links for the Changelog using these formatting options.
Once you are happy with your format and content, click on Save at the top right.
Finally, you can click on Publish on the top right of the Changelog in order to publish. This adds the Changelog to the list of Published Changelogs at Hellonext. From here you can always view your Changelog and edit them when required.
You can also “Unpublish” the Changelog from your page. This will automatically save the Changelog as draft under the Unpublished section. Unless you publish the Changelog again, it will be saved under the "Unpublished" tab as a draft. You can simply use this "Unpublished" section as a Drafts folder for any Changelogs that require review or updates.
Here’s a screen recording which will take you through these steps:
Seems rather easy and simple to follow doesn’t it? That’s because it is!
Do feel free to reach out to us if any queries should arise! :)