One of the most cumbersome tasks that one can go through at any particular time is labouring through multiple text pieces, trying to figure out what category each content falls under.
This can be made easy by creating labels and adding them to your Changelogs, which will quickly earmark all records of the bug fixes, new features and other updates for ease of reference. Labels work like hashtags do on your social media platform - for your Changelog articles, the reader can quickly understand what the Changelog is about and is also able to club together similar write-ups.
You can add labels to every Changelog created on Hellonext to make the content organized and well-differentiate. Once you sign into your Organization's account, you can follow the steps below:
Click on the Dashboard button on the top right.
Click on Changelog on the left panel.
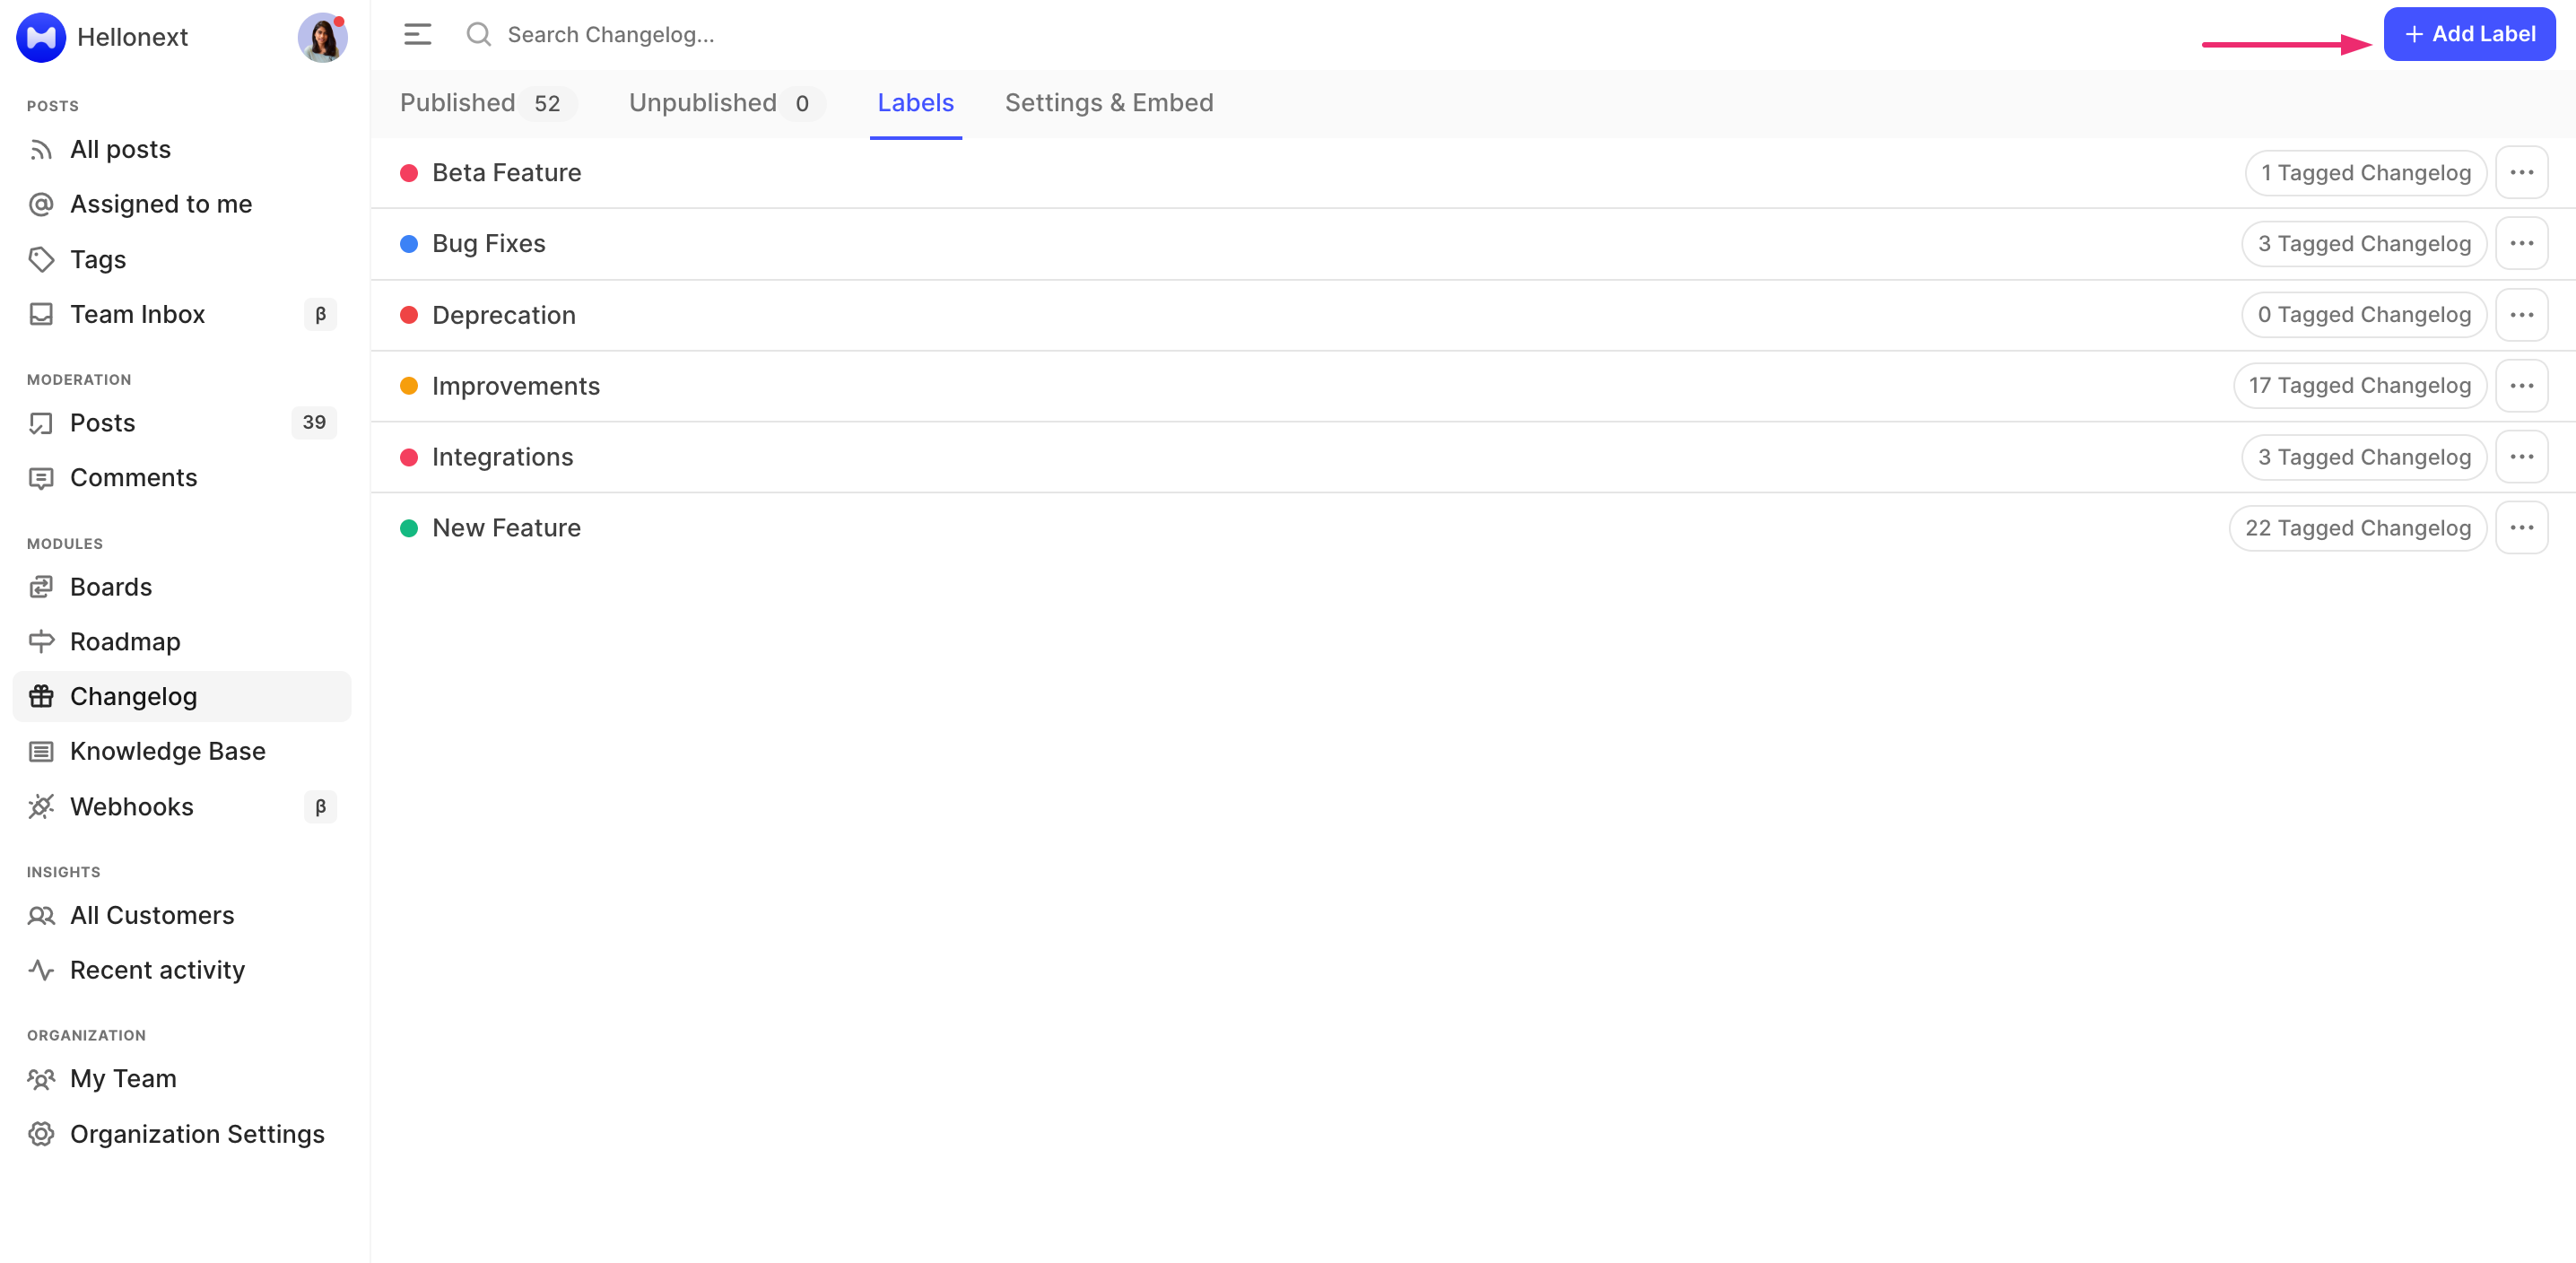
Toggle to Labels -> Choose +Add Label from the top right corner.
Set a name and color for the label.
Click on Add Label.
You can also edit the name and color of existing labels by clicking on the ellipses “…” right next to the Label’s name. Here’s a screen recording taking you through the steps.
How to add labels to changelogs?
Labels can be added both to your unpublished and published Changelogs. To do so,
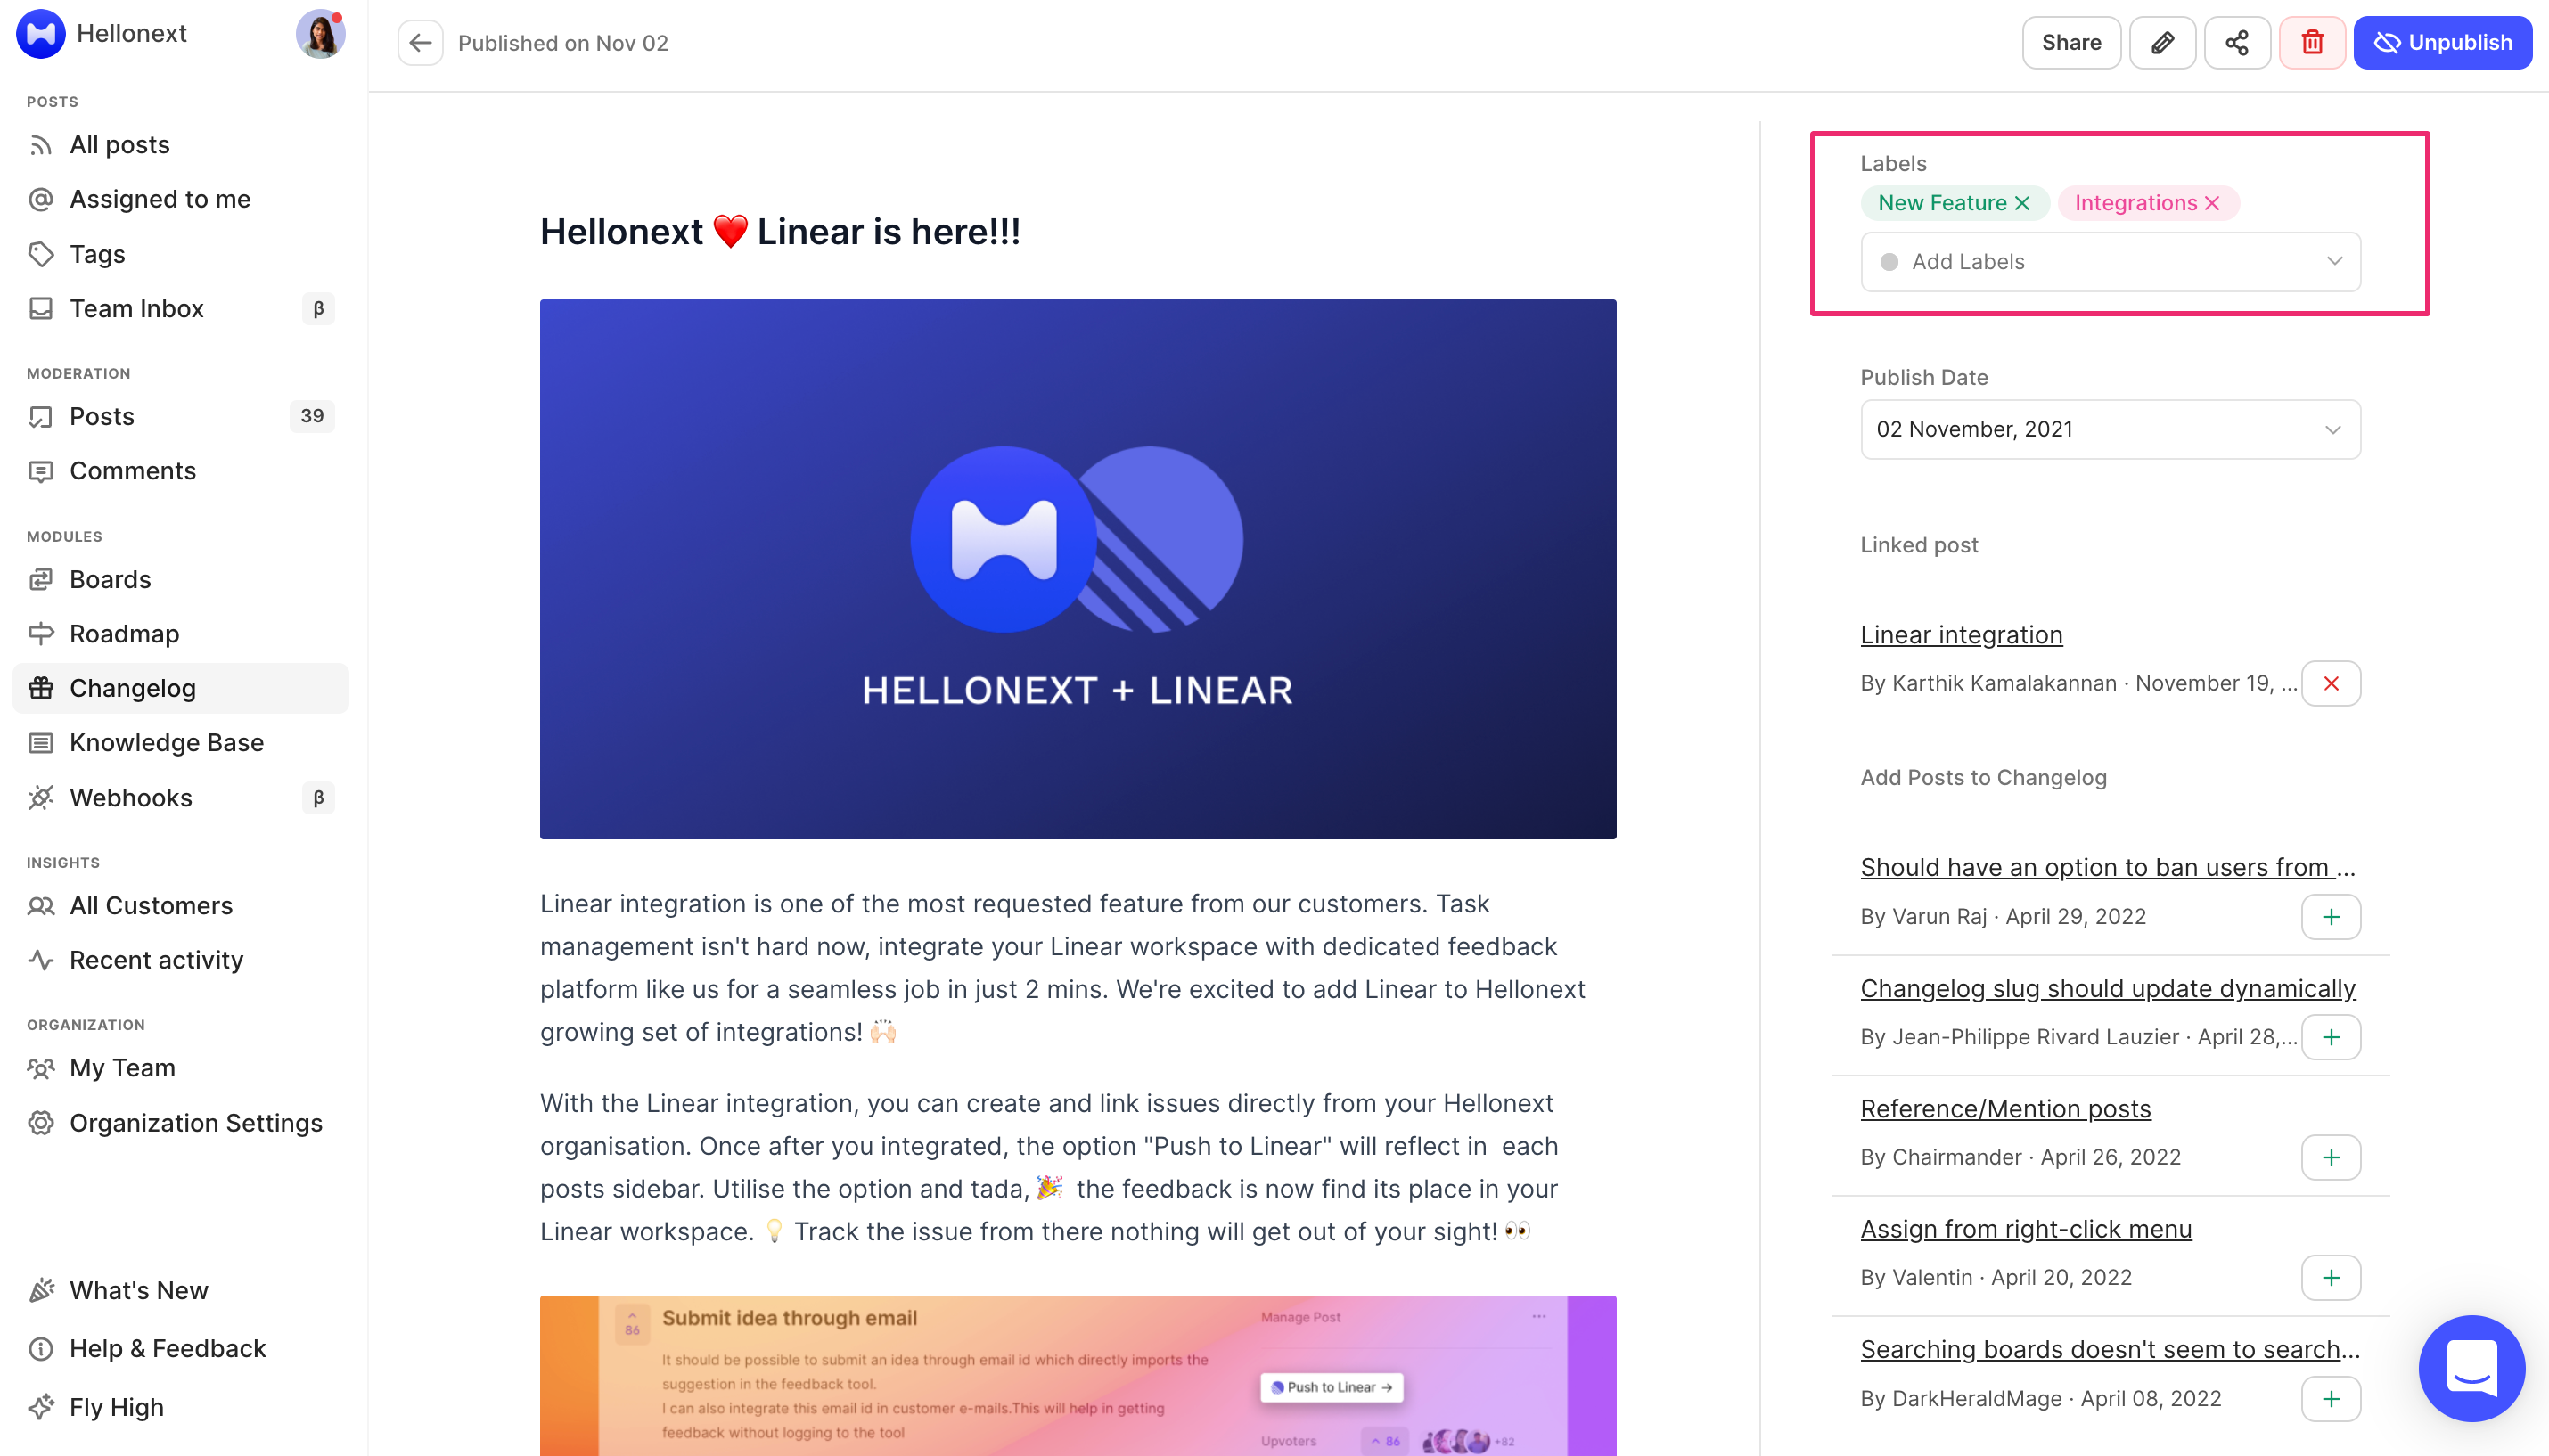
Navigate to the upper right-hand corner of the Changelog.
Add labels as necessary. The labels will then appear as chosen in your Changelog. You can delete the existing ones by clicking on the "x" next to the existing labels in Changelogs.
Here’s a screen recording which will take you through these steps:
Seems rather easy and simple to follow doesn’t it? That’s because it is!
Do feel free to reach out to us if any queries should arise! 😃✨